Mitering Fabric How to Get Perfectly Pointy Inside Corners Sewing mitered corners, Sewing
Use This Simple Trick To Get Perfect Mitered Corners Every Time! Crafty House
Match the marks you made, and pin the border strips onto the quilt top. Step 3: Using your quilting ruler, make a mark ¼" (6 mm) in from the corners of the quilt top. These points will mark where you will start and stop sewing. Step 4: Sew the border to the quilt top using a ¼" (6 mm) seam allowance.
Sew Easy Mitering Corners Quilting Daily
Mitered Corner: Step 1. If your fabric frays (like most wovens will), make sure you finish your shoulder seam and side seams before sewing the front and back together. ONLY finish the side seam-including the diagonal portion of the vent. The rest of the vent and the bottom hem will be enclosed. Finishing them at this step will create more bulk.

How to Make Mitered Corners on Quilt Binding Bobbin In Quilts
Cut Perfect Miters to Fit Irregular Corners and Angles with a Miter Gauge That Also Saves Time and MaterialsSave time figuring for miter joints and prevent m.

Perfect Mitered Binding Corners Amista Baker
As with any coped joint, begin by cutting a 45-degree miter on the baseboard. The miter cut provides a profile to guide your cope cut. 2. Make the Straight Cut. Turn the mitered baseboard upside down. Adjust the angle to about 15 degrees and saw down along the straight section of the beveled cut.

How to Miter Corners 13 Steps (with Pictures) wikiHow
This makes the mitered corner look seamless and further ensures a leak-proof corner! Carefully apply Loctite 495 to the cut edges and fold the seal together to form a 90-degree corner. TIP: Loctite 495 does not quickly dry when exposed to air, so you have some 'work' time to align the edges correctly- but once the edges touch, the bond sets.
Cutting Mitered Outside Corners Shine Your Light
2. Determine your miter angle. Measure the complete angle change. Divide that by the number of pieces that will make the turn. The resulting number is the angle to which you will need to set your miter. The most common miter angle is 45 degrees. [2] 3. Measure for your starting points.

3 ways to sew a mitered corner Elizabeth Made This
A 10-in. blade should have at least 40 teeth, a 12-in. blade at least 60. If the blade is for a sliding miter saw, be sure the teeth have a hook angle of zero to negative five degrees. Teeth with a neutral or negative hook angle are less aggressive and safer for sliding miter saws. Expect to spend at least $50 for a carbide-tipped blade that'll.

Pin on Door installation
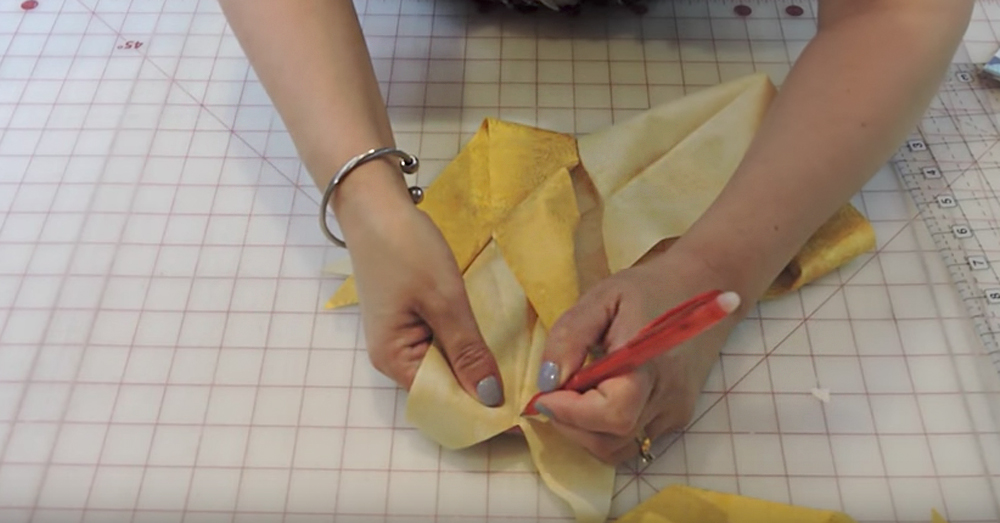
Sewing mitered corners used to intimidate me-until I learned a clever shortcut method for making the task a breeze! Today, I'm going to show you use to sew mitered corners with professional results every time. This technique is perfect for making cloth napkins, blankets, or even burp cloths and other baby essentials.

Pin by Carolyn Stands on SEW BORDERLINE GENIUS Easy sewing, Sewing tutorials, Quilting tips
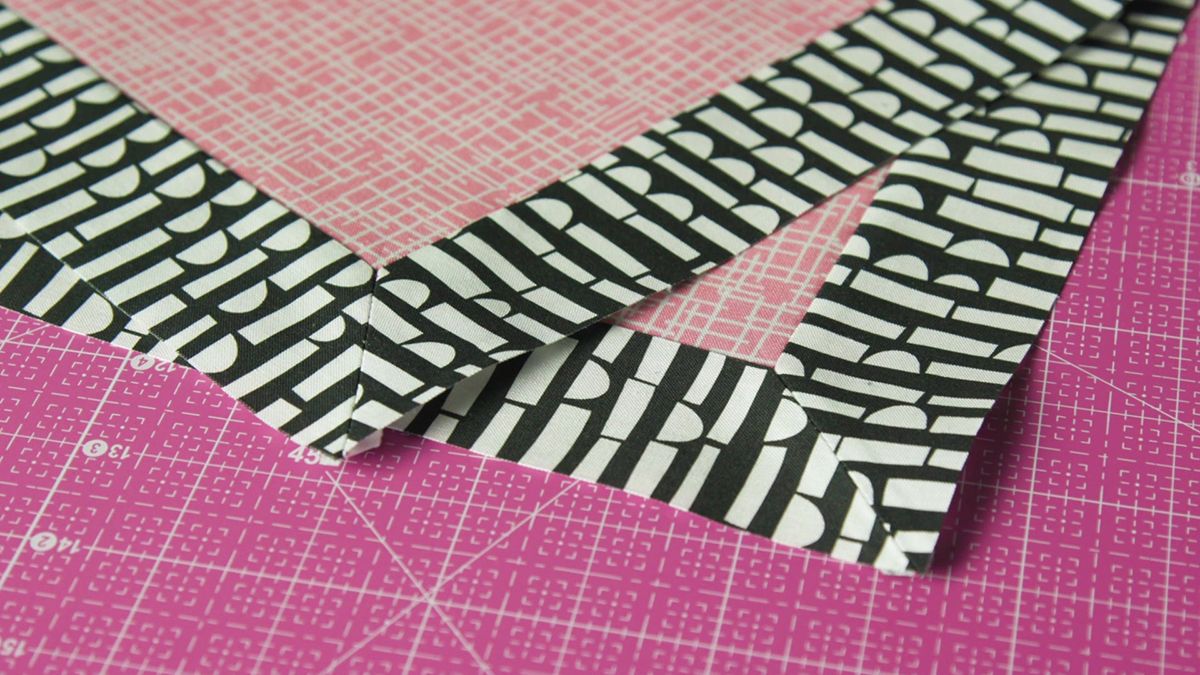
Cut off the corner to 1/4″ seam allowance. 9. Repeat this method for for all four corners, and then turn the seam allowances of the corners inside. 10. Push out the corners gently with some scissors or a pen. 11. Fold under the 'binding' along the pressing line and you will get perfect mitered corners. 12.
Mitered Corners Sewing Tutorial Easy Peasy Creative Ideas
Frixion Heat Erase Pens: https://goo.gl/Ccyko2. 4" Mitering Ruler: https://goo.gl/3szrZZ. In this quilting tutorial, the Fons & Porter staff show you how to.

Mitering Fabric How to Get Perfectly Pointy Inside Corners Sewing mitered corners, Sewing
3. Line up the center marks for the border and the center block. Place your border and center block right sides together, line up the marks you just made, and pin in place. Next, make a mark on either end of the border ¼" away from the edge of the center block. 4. Sew the borders to the center block. Starting at one end ¼" in from the.

Mitred Corners vs Premade Corners The Eavestrough Company
A 135 degree angle is an OBTUSE angle. The miter for this corner is 67 1/2 degrees. That's easy to cut on your miter saw. Just set the saw at 22 1/2! But the angles on a miter saw gauge are off 90 degrees to the angles on a protractor, which causes a lot of confusion. Some carpenters opt to use a Starrett Protractor.

FrameWorthy Work How to Make a Miter Joint
A miter saw is a table-mounted saw that has preset angles at 22.5, 30, 45, and 60 degrees. Once you've selected the angle you want for your corners, set the saw and grab your wood. Double-check the angle with a triangle to ensure accuracy, then all you have to do is cut your first wood piece at the selected angle down to the length you want.

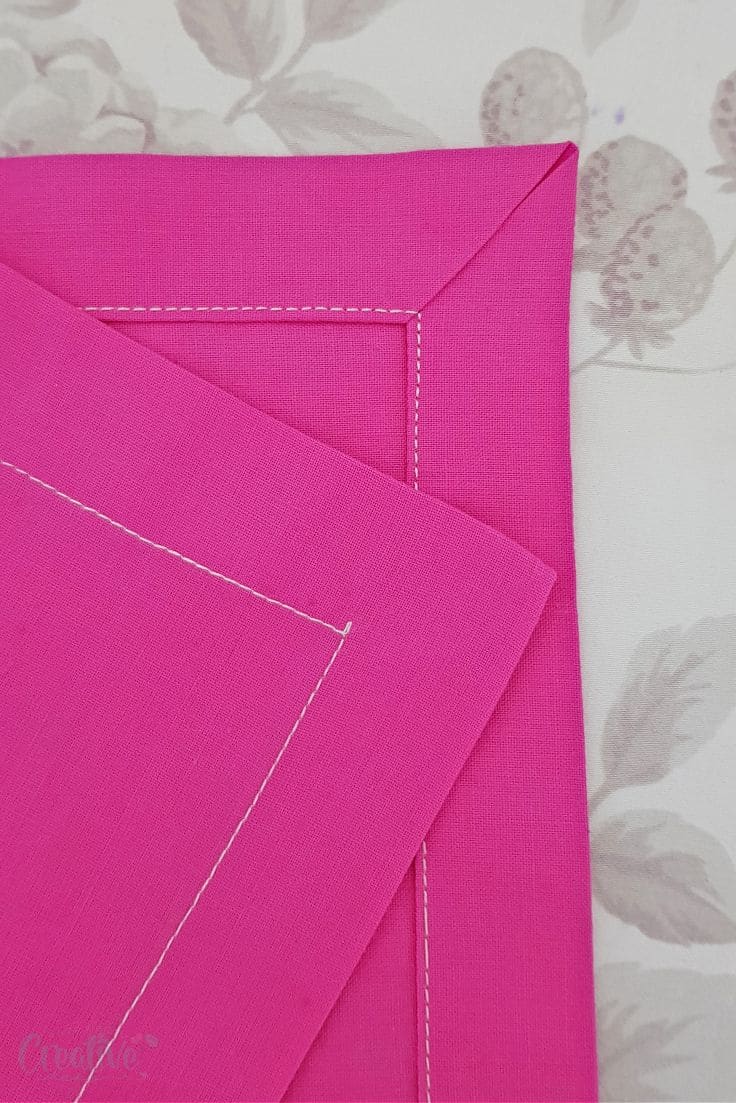
How to get perfectly pointy inside corners Sewing Lessons, Sewing Skills, Sewing Hacks, Sewing
Mitered corners can be of any angle, and the hem allowances can be whatever width you prefer, from narrow to several inches wide. A miter is also a great method for reducing bulk. Without a miter, a double-fold hem has nine layers of fabric to stitch through at the corner. With a miter, that number drops to four.
Mitering Fabric How to Get Perfectly Pointy Inside Corners Celebrate Creativity
Get the fabric & supplies you need at OnlineFabricStore: https://www.onlinefabricstore.com/Want more info on this project, including written instructions? Fi.

Mitering the corners on banding that’s being applied to all four edges of a table top can be
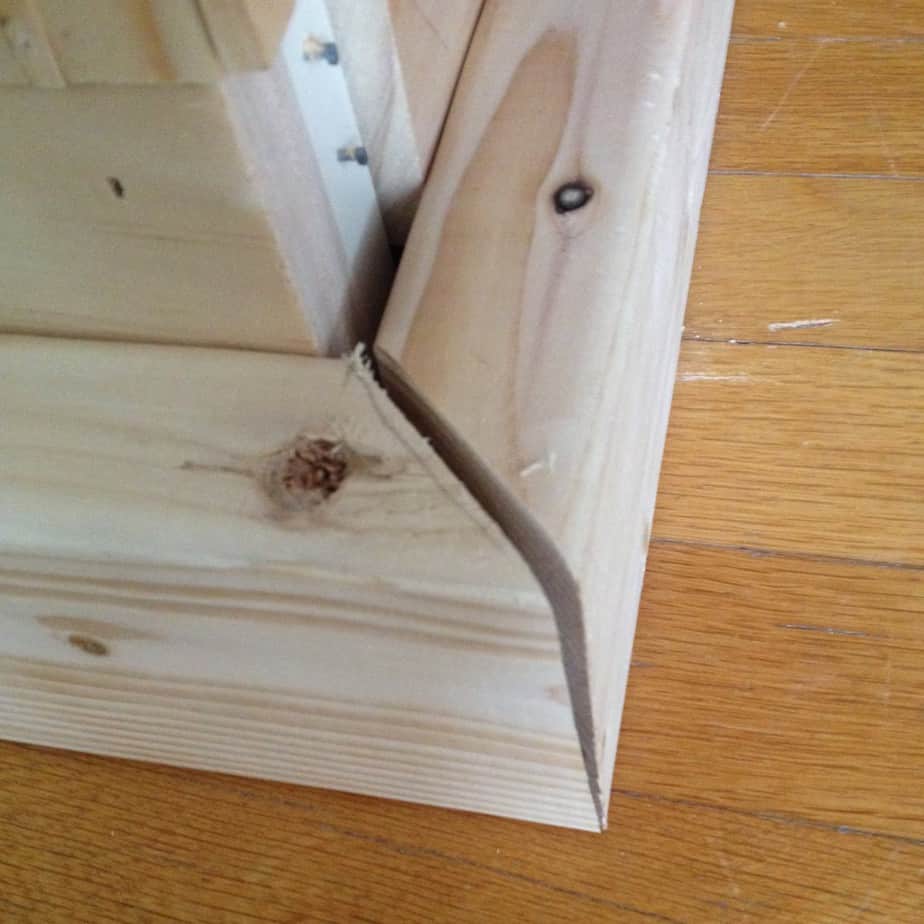
Make a mitered corner by joining two pieces of wood, each cut at a 45° angle. The miter joint does not require a lot of special tools or setup time, yet it's useful in a variety of applications.
