pumpkin carving night
Pumpkin Carving PRA Policy Research Associates
Follow the design lines with a rotary tracing wheel or use an awl or thin screwdriver to make holes along the design lines about 1/8-inch apart. Remove the stencil pattern when finished. Step 4. Cut Out the Top. Using a sharp knife, cut a circular hole in the top of the pumpkin at an angle toward the center.

pumpkin carving night
Pumpkin Carving Group Activity. Should you decide to turn a pumpkin carving date night into a group date, I'd highly recommend grabbing one pumpkin per couple. That still gives you plenty of time to carve and be creative. But we found there's a lot more time to talk with much less pressure. We also took turns doing the messy jobs.
.JPG)
clare Pumpkin Carving Night
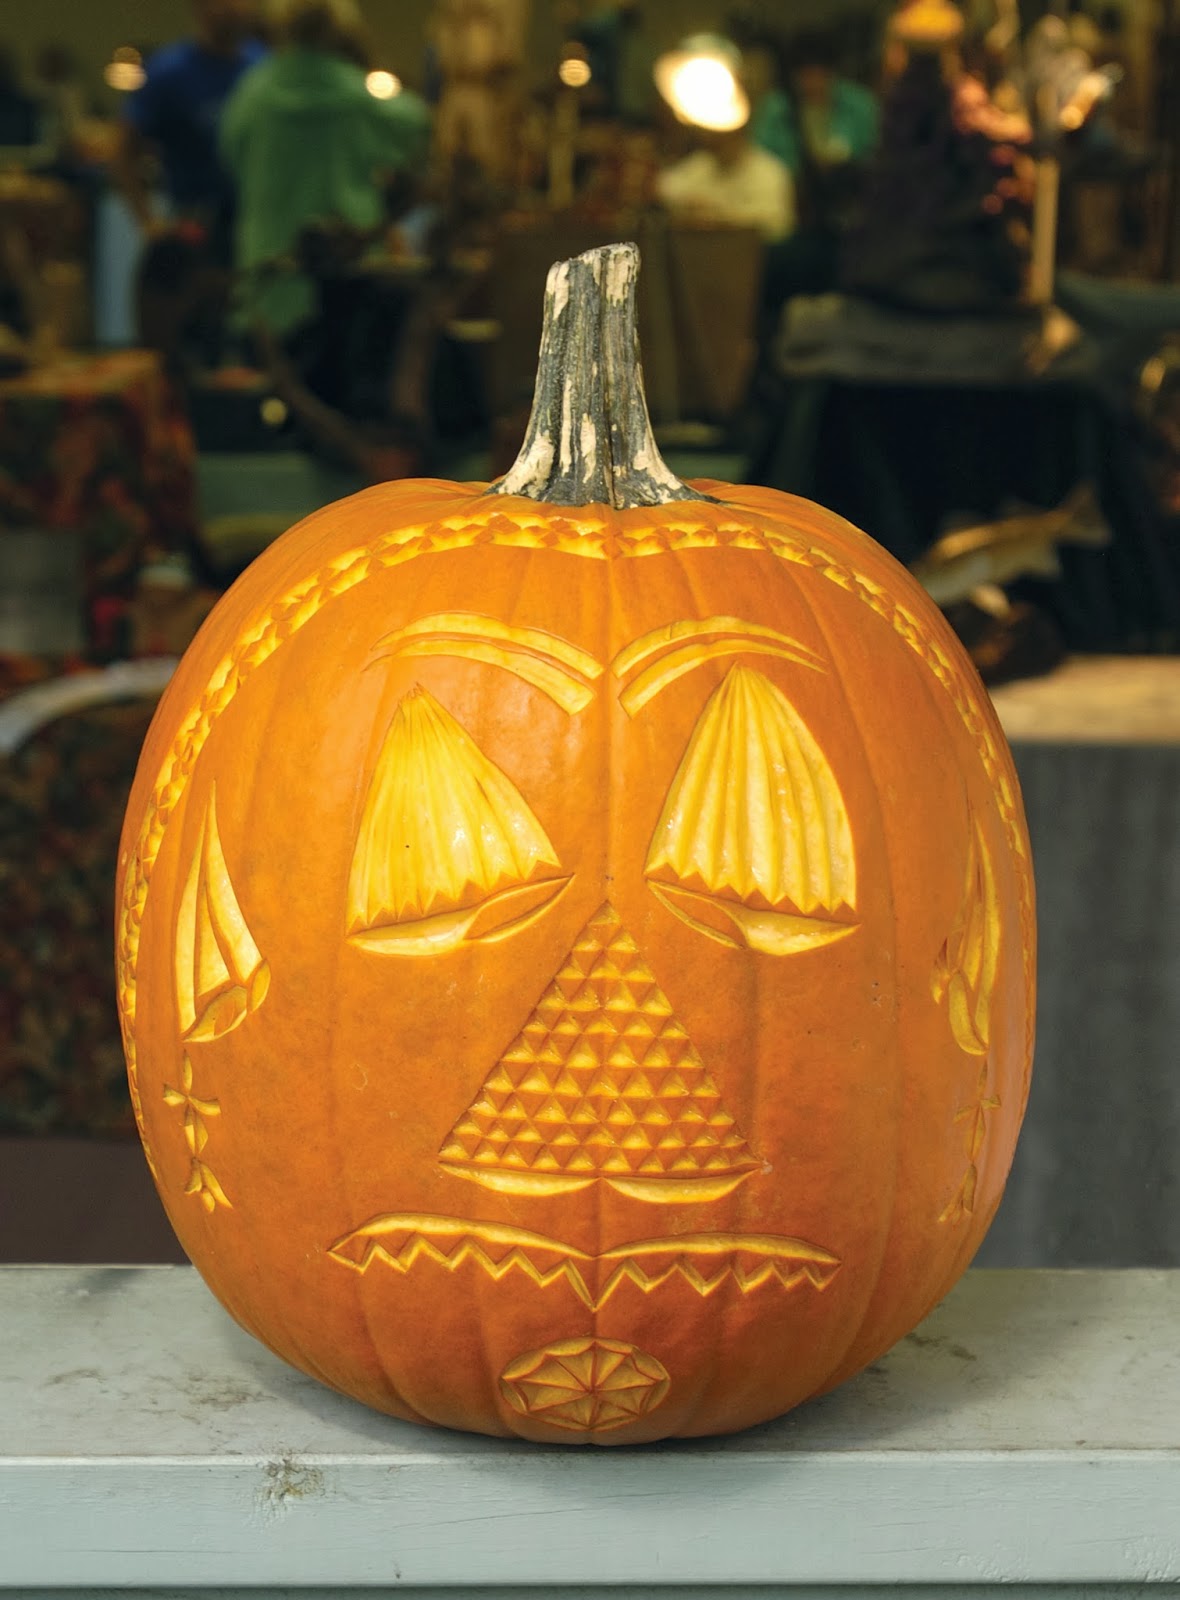
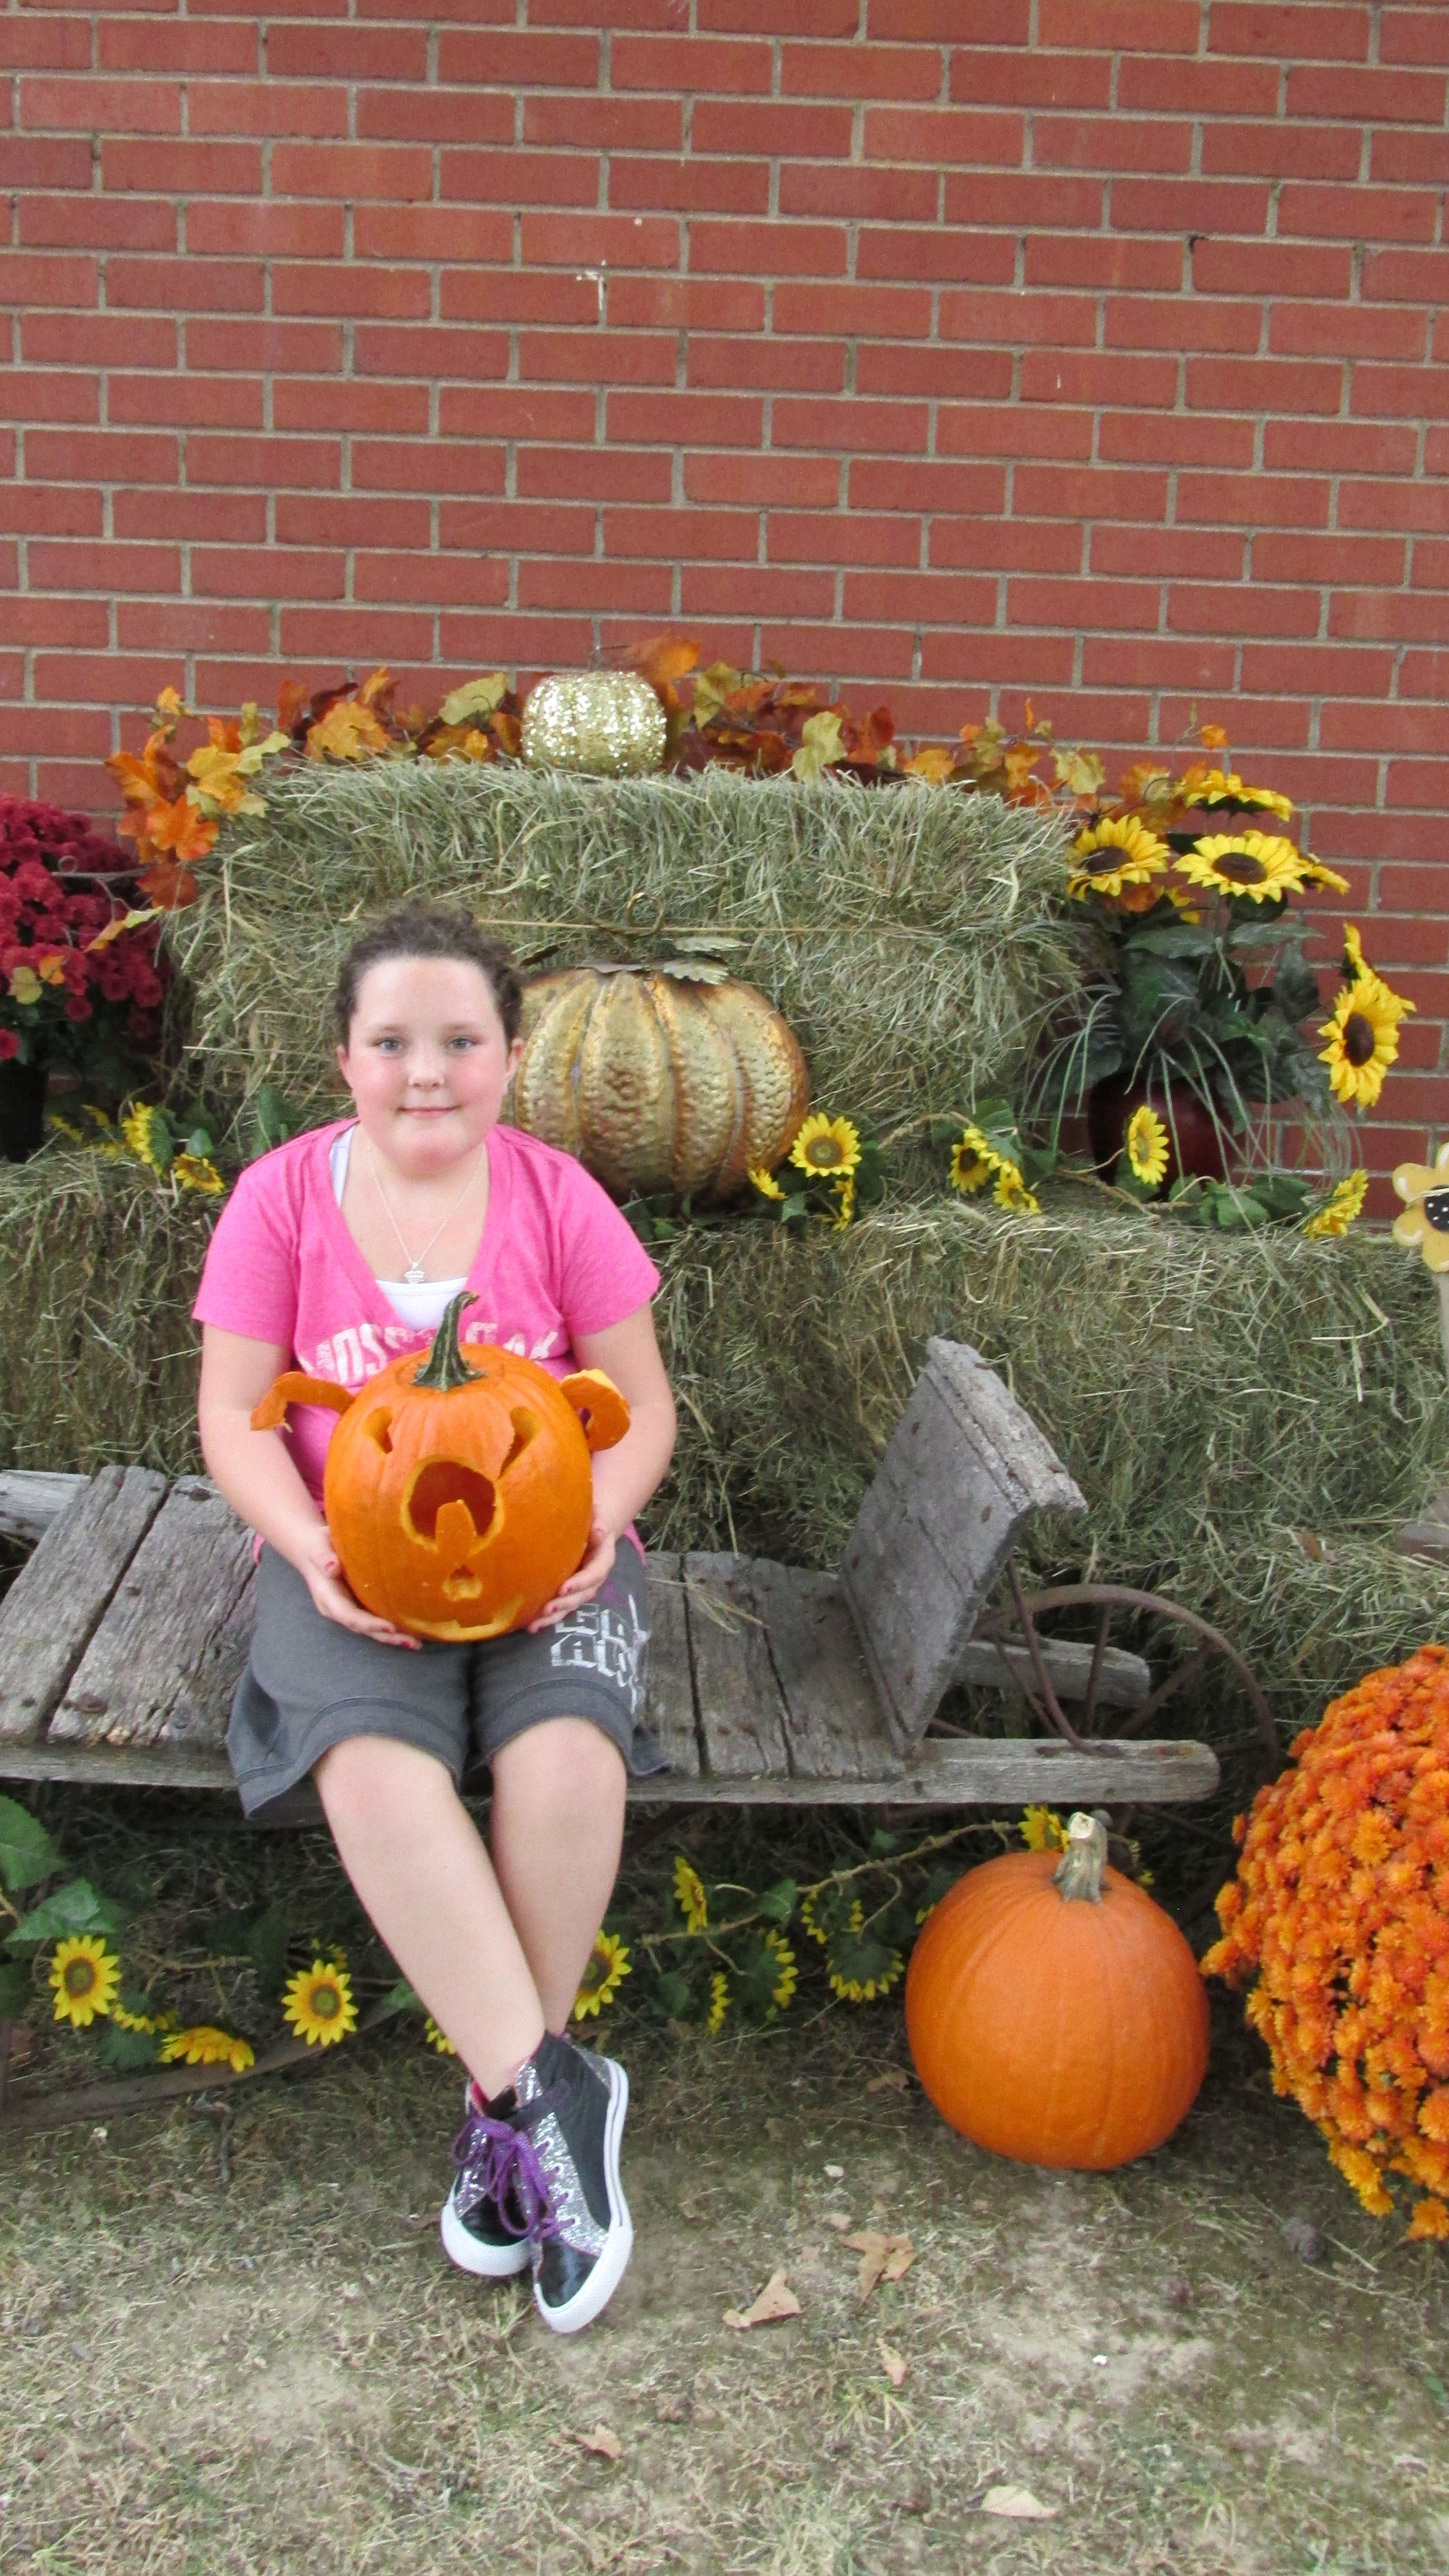
Carve in basic circles and a triangle to create the eyes and the nose. For the body, add several V's fairly close together that resembles an owl's feathered look. It is not necessary to fully carve out the wings because you want them to have a different color and texture than the rest of your pumpkin owl. 2.
.JPG)
clare Pumpkin Carving Night
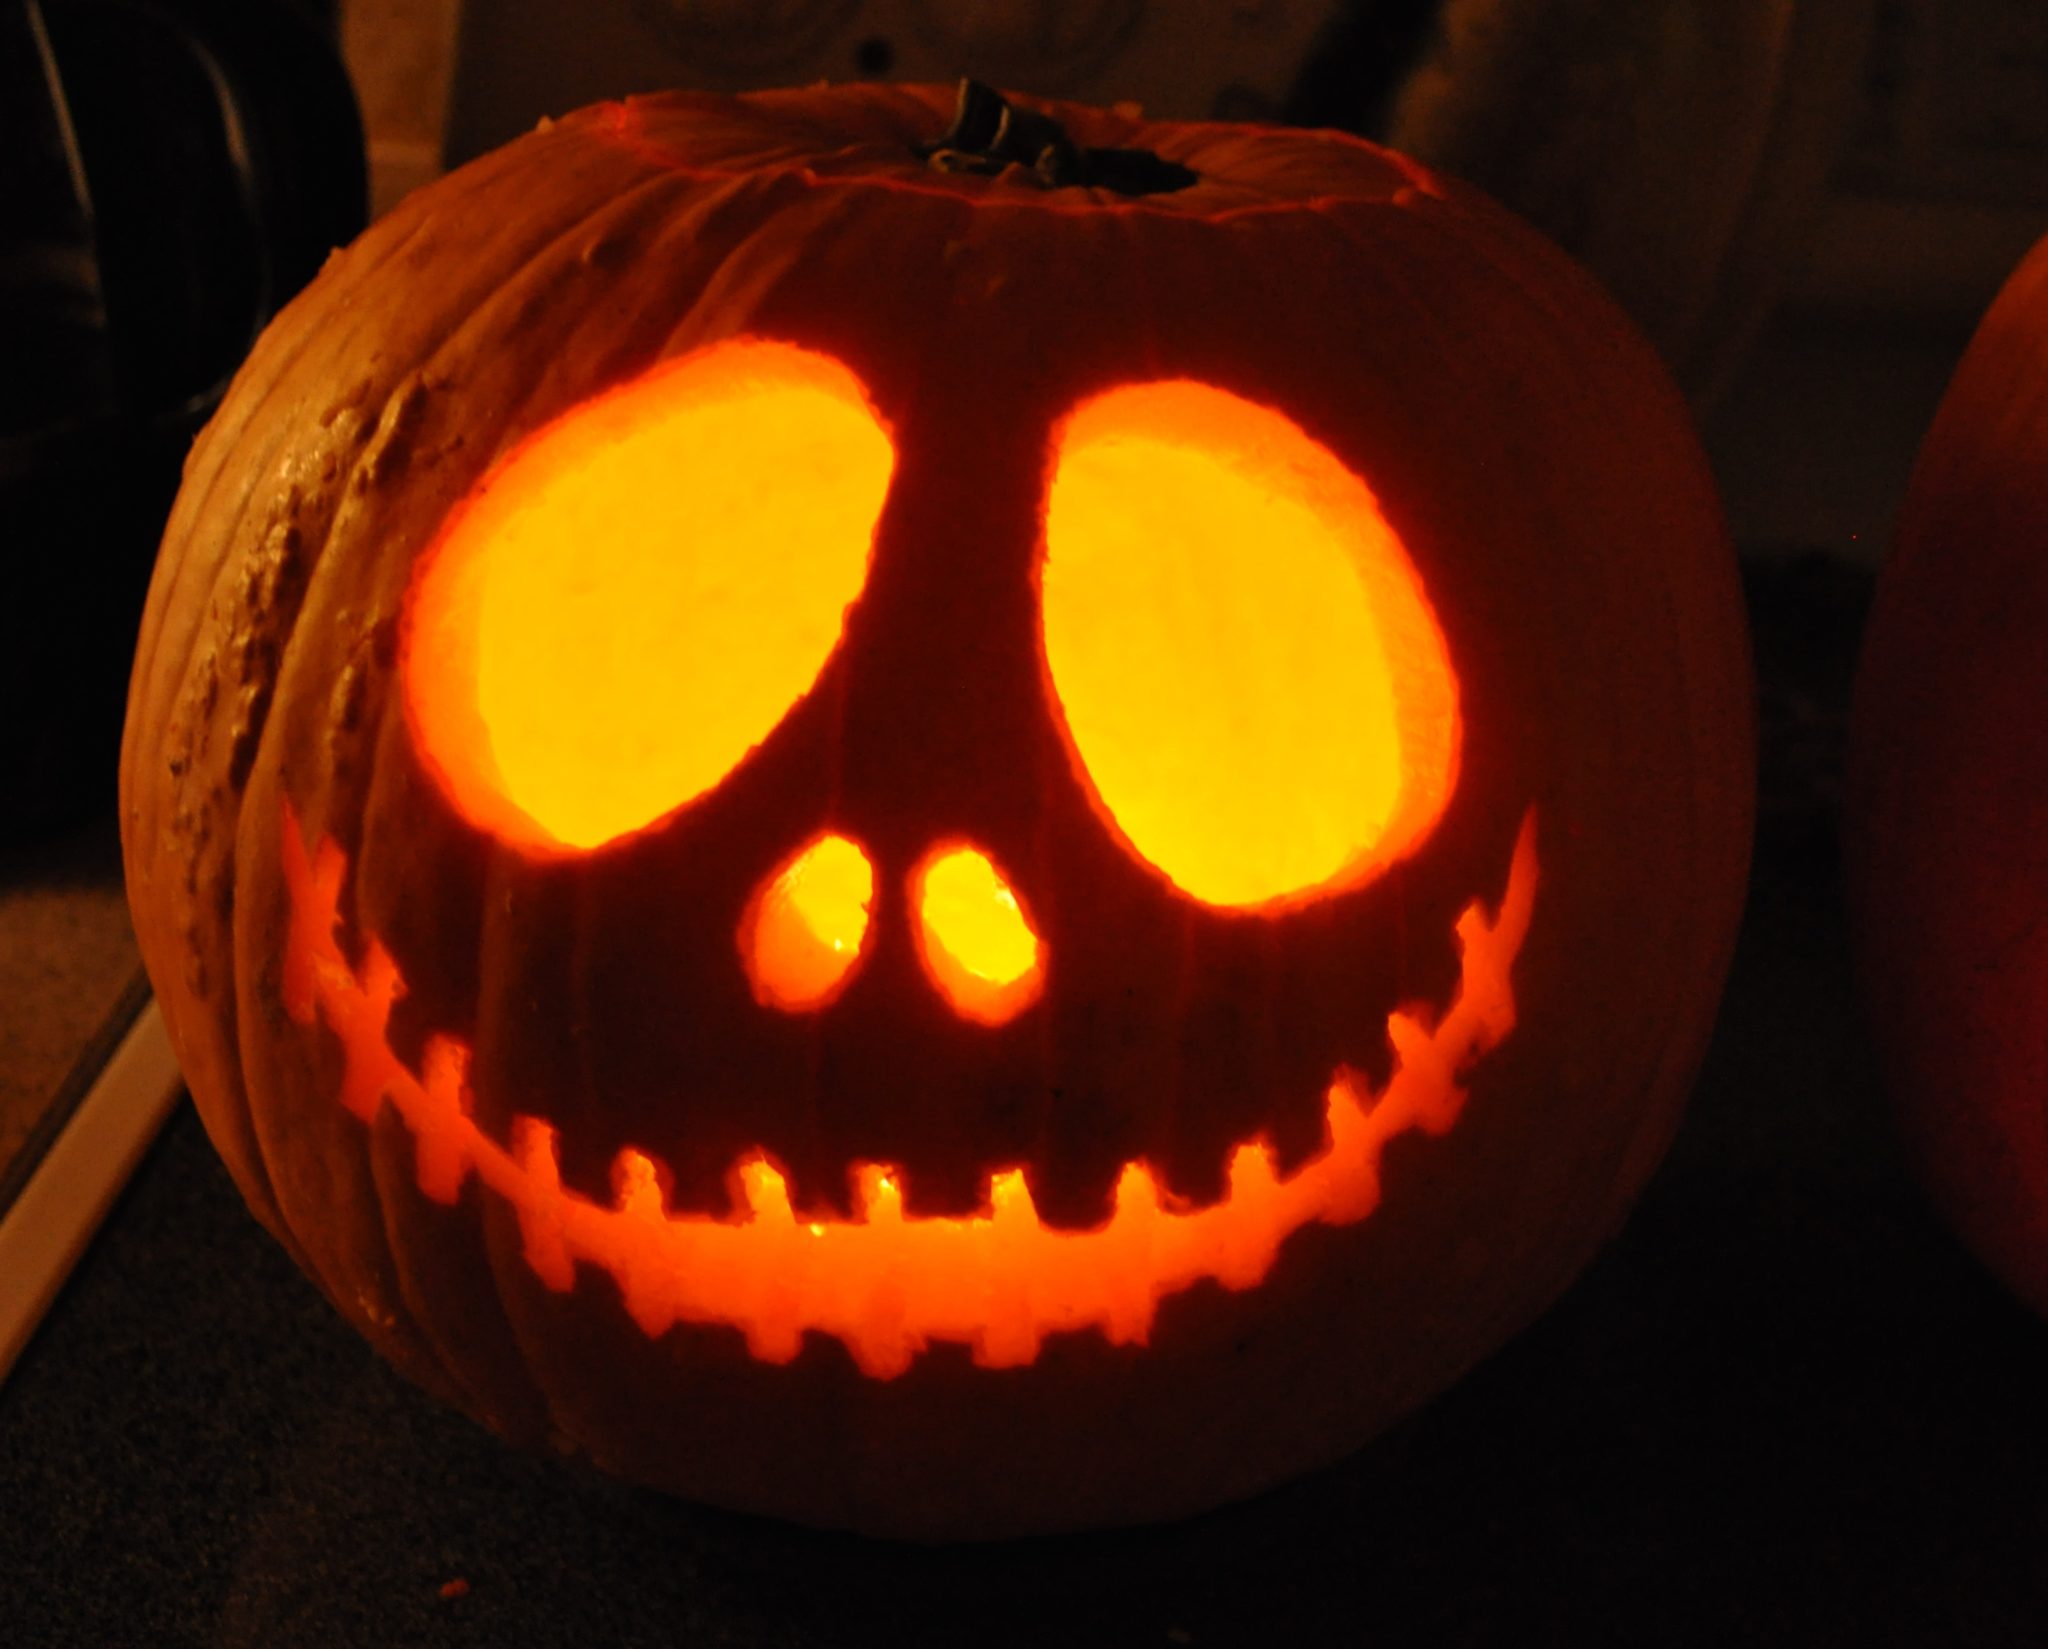
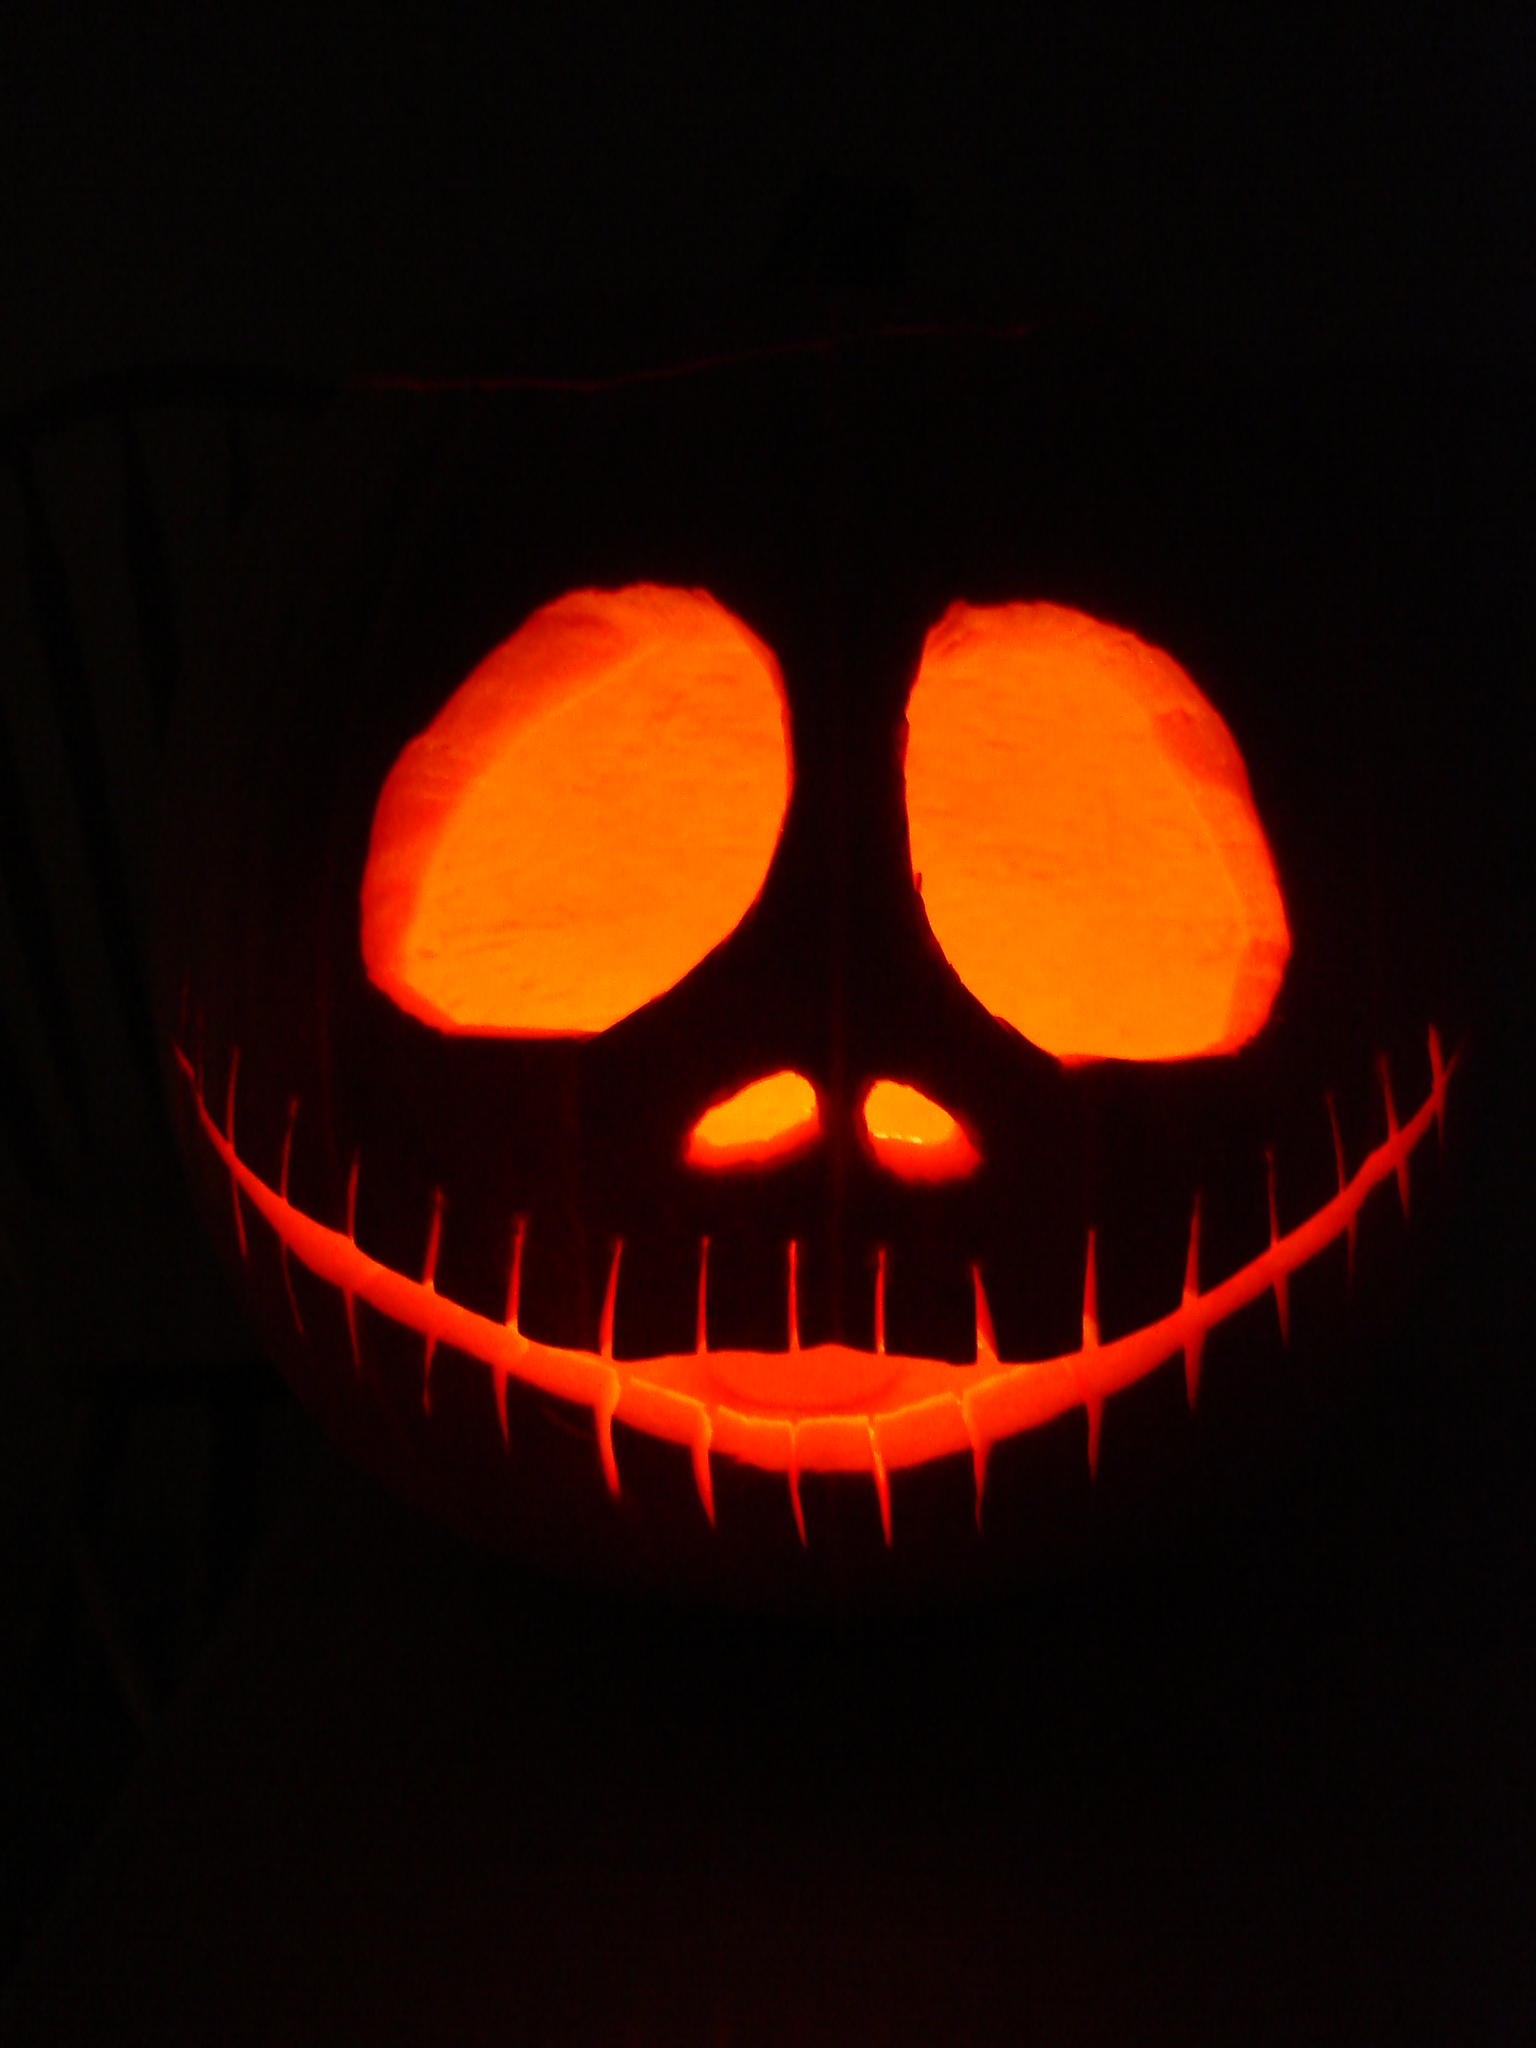
Get ready for a Halloween pumpkin carving night with a Nightmare Before Christmas theme! We not only have the Pumpkin King Jack Skellington pumpkin template, but a Nightmare Before Christmas Oogie Boogie easy pumpkin carving stencil too!. Get ready for a fun activity and favorite Halloween activity filled with some spooky fun!
Review & Giveaway Extreme Pumpkin Carving 2nd Edition Revised
This cool pumpkin carving idea is perfect for horror movie fans who want to add a bit of a scare factor to their Halloween decor. Whether you're a fan of easy pumpkin carving ideas or more complex designs, this Ghostface pumpkin carving is sure to impress. With its unique and creative design, this pumpkin carving is a lot of fun to create and.
Pumpkin Carving Night r/pics
TO MAKE: Cut a hole in the bottom of a medium-size orange pumpkin; scoop out the pulp and seeds. Draw a honeycomb pattern on the front, and use a linoleum carving tool to etch out the design. Cut.
22 Free Face Stencils for Fun Halloween Pumpkin Carving Better Homes
Start cutting. Using the sharpest knife in the house, carefully cut along your design, making sure the hand that's stabilizing the pumpkin is not in the path of the hand wielding the knife. If a piece you've cut doesn't pop out, try pushing it in. (You can retrieve it through the entry hole in back.)

Mejia Mamma October 2012
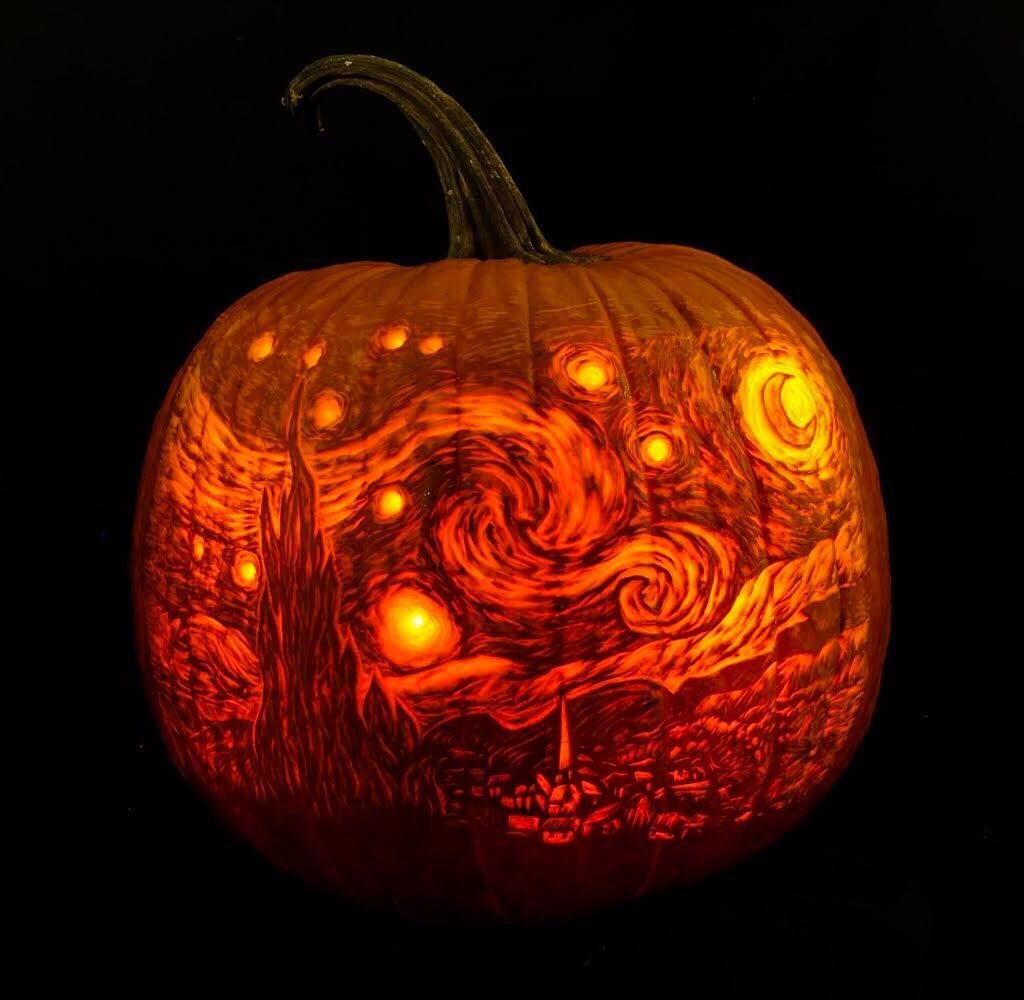
Starry Night Carved Pumpkin. Image Source: Southern Living. Turning to the art word for pumpkin carving inspiration provides a lot of material to work with. In this example, Vincent van Gogh's The Starry Night served as inspiration for this delightful pumpkin. This is likely not a pumpkin for a novice, but if you have some good knife skills.
Pumpkin Carving Night 2015
Lightly dust the top of the cut pumpkin lid with a tiny amount of cinnamon, then blot it off with a paper towel. Make sure there is no loose cinnamon inside the pumpkin (this can be flammable) before lighting a candle and replacing the lid. After a couple of minutes, the room will smell like pumpkin spice . 10of 21.

30 Lovely Fall Pumpkin Decor Ideas MAGZHOUSE Pumpkin carving
This pumpkin is truly the stuff of nightmares. In addition to some spookily carved eyes and a menacing mouth, all you need is a bunch of toothpicks to pull this together. Add a leftover "snack.
These Artists Are Carving Incredibly Detailed, ArtHistorical Pumpkins
Carve each other as pumpkin faces. Grab the same carving template and turn it into a competition. Find a famous couple and turn them into carved coordinating pumpkins. Each of you takes half of a face or pattern to carve and make your pumpkins join together to reveal the full picture. Buy two pumpkin carving kits.

Pumpkin Carving night Flickr
Season and Roast (for eating): Preheat the oven to 300°F (150°C). You can adjust the temperature slightly higher for a shorter cooking time or lower for a longer, slower roast. Toss with Oil and Seasonings: Toss the cleaned and dried pumpkin seeds in a bowl with olive oil or melted butter.

Best pumpkin carving night ever! My youngest kid is finally old enough
By keeping the walls around an inch wide or so, it will not only make carving easier, it will allow more light to shine through as well. Finally, clean and wipe the outside so that the pumpkin's.
Give This a Try Before You Carve Your Jacko’Lantern This Halloween
Cut a lid into the top of the pumpkin with a serrated knife. You can use a serrated knife from your kitchen or the largest serrated tool in a pumpkin carving kit. Draw a circle with about a 2 in (5.1 cm) radius from the stem with a washable marker. Tilt the blade at a 45-degree angle toward the stem and push it into the pumpkin.

2015 Pumpkin carving Starry Night Pumpkin carving, Carving, Pumpkin
Wipe the outside with a kitchen towel to clean and dry the surface. Transfer the design - Tape the design on the flattest part of the pumpkin. Use a tool that has a needle tip or pushpin to pierce holes through the paper, about ⅛-inches apart. Remove the paper and use a marker to connect the dots.
Saucy Living Page 53
Get the free stencil. Turn your front porch into a graveyard with this bony pumpkin carving stencil. Pro tip: Start with the detail work on the skeleton's face, then work your way down to the arms and out to the face's outline. This will fit right in with your existing skeleton decor. 43 of 60.
