BeMommylicious DIY Cookie Plate for Santa Claus
DIY Santa Cookie Plate (With Cricut SVG) Angie Holden The Country
Easy! I know that not everyone has a Cricut but you can make this without. Just find some nice letter stickers and put them on the plate. Since this will only be used once a year for cookies this will work just fine! Just remember to gently wash it off with a damp cloth. This would be a great activity to do with the kids!
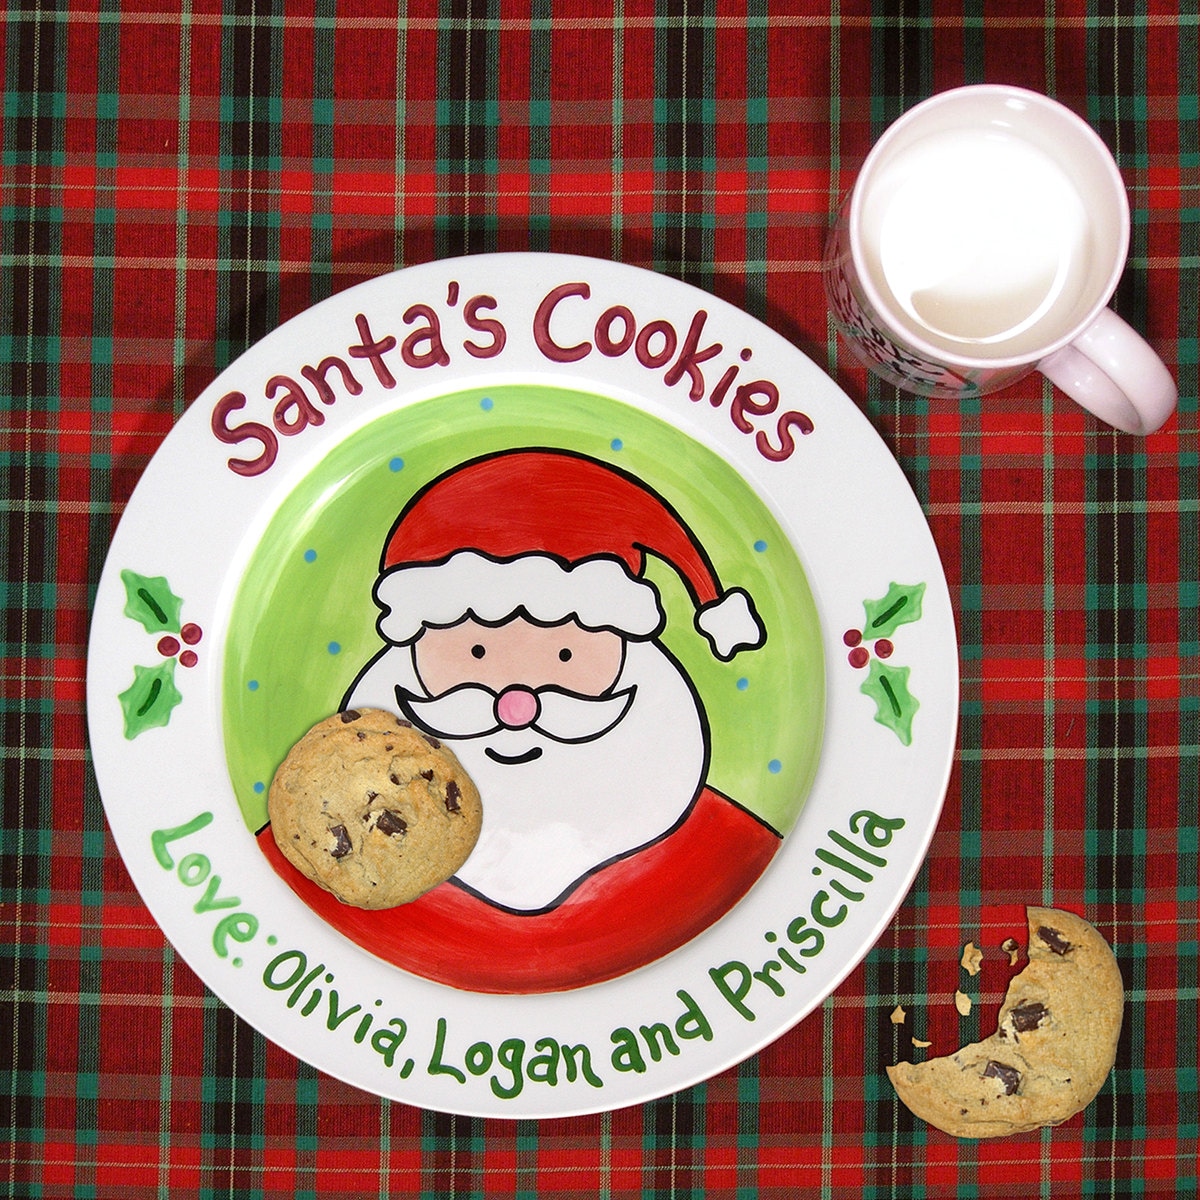
Personalized Cookies For Santa Ceramic Christmas Cookie Plate
Use artist's brushes to paint design onto plate with ceramic paint. Ceramic paint pens are also available and are ideal for lettering. If a mistake is made, paint can be wiped off with a wet paper towel. Once complete, allow paint to dry for 24 hours before moving on to next step. Tip: If doing this project with small children, make sure they.

Crafty Texas Girls DIY "Cookies for Santa Plate"
Instructions: Make sure the plate is clean and free of dust - use rubbing alcohol if necessary. Draw out your design on the plate using a pencil. Draw over the pencil with your sharpies. After sharpie has dried, add the clear glaze gloss finish. Bake at 350 for about 30 minutes. Colors may change in brightness.

A personal favorite from my Etsy shop
Step 3. Once you're happy with your design, bake it in the oven for 30 minutes at 350 degrees Fahrenheit. Then turn off the oven and open the door until the plate has cooled - this is why it's essential to have an oven-proof plate. I haven't used the plate yet, but it's not likely to get too dirty, so I plan to lightly hand wash it.

DIY Cookies For Santa Plate With Kraft Paper Daffodil Seid Interiors
This cookie plate for Santa is super easy and cheep to make. It would be a great addition to your Christmas traditions. It would be a great project to get yo.

Christmas Cookie Plate with Christmas Cookie Cutters Set, Cookies for
First, start out by opening the SVG file and size it to fit your plate. Then, use your Cricut to cut out the pattern on permanent vinyl or iron-on. Either will work on a glass plate! After you have cut the SVG, apply your design to the plate. You can add the vinyl by using transfer tape or apply the iron-on using the EasyPress.

Classic Handmade Cookies For Santa ceramic christmas plate Etsy in
I love to share easy Cricut projects with you! Learn how to make this super cute Cookies for Santa plate with your Cricut. This is another fun and easy Chris.

Craft E Magee Cookies for Santa
Take some ceramic pens and draw Christmas lights and write "Cookies for Santa." Once you are happy with the design, set the plate on a baking pan and bake for 30 minutes on 300 degrees. *DO NOT preheat oven, let the plate warm up gradually with the oven so it doesn't shatter!*. Take it out and let cool.
DIY Santa Cookie Plate Sew Simple Home
You just shake the paint pen up and down to get the paint inside ready. Then, you press down on the tip of the pen until the paint starts to flow for the first use. Once it's flowing, you're ready to paint! I drew designs around each of the rings on the outer edge of my plate using my red and green markers.

20++ Cookies For Santa Plate Set HOMYHOMEE
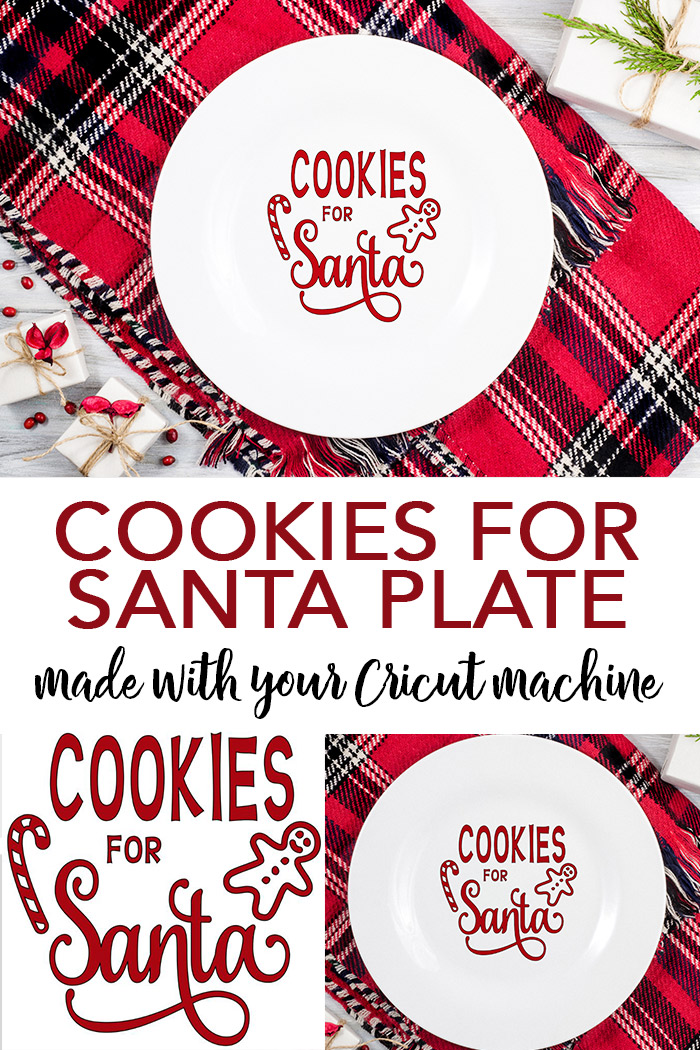
Total Time: 30 minutes. Difficulty: Moderate. Create a personalized Cookies for Santa Plate using a Cricut die-cutting machine, vinyl, and a plate. This inexpensive Christmas craft comes together in a half hours time. You can give this Santa cookie plate as a gift or keep to use for your own family tradition.
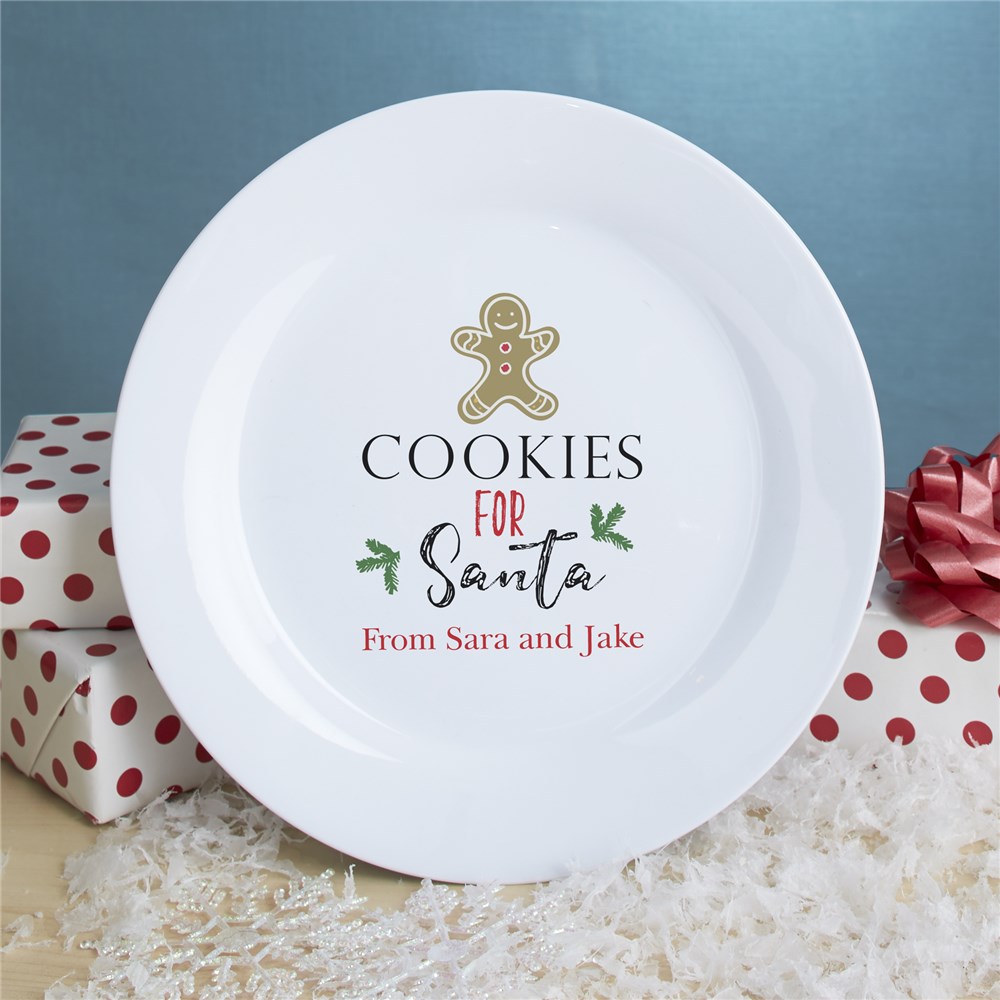
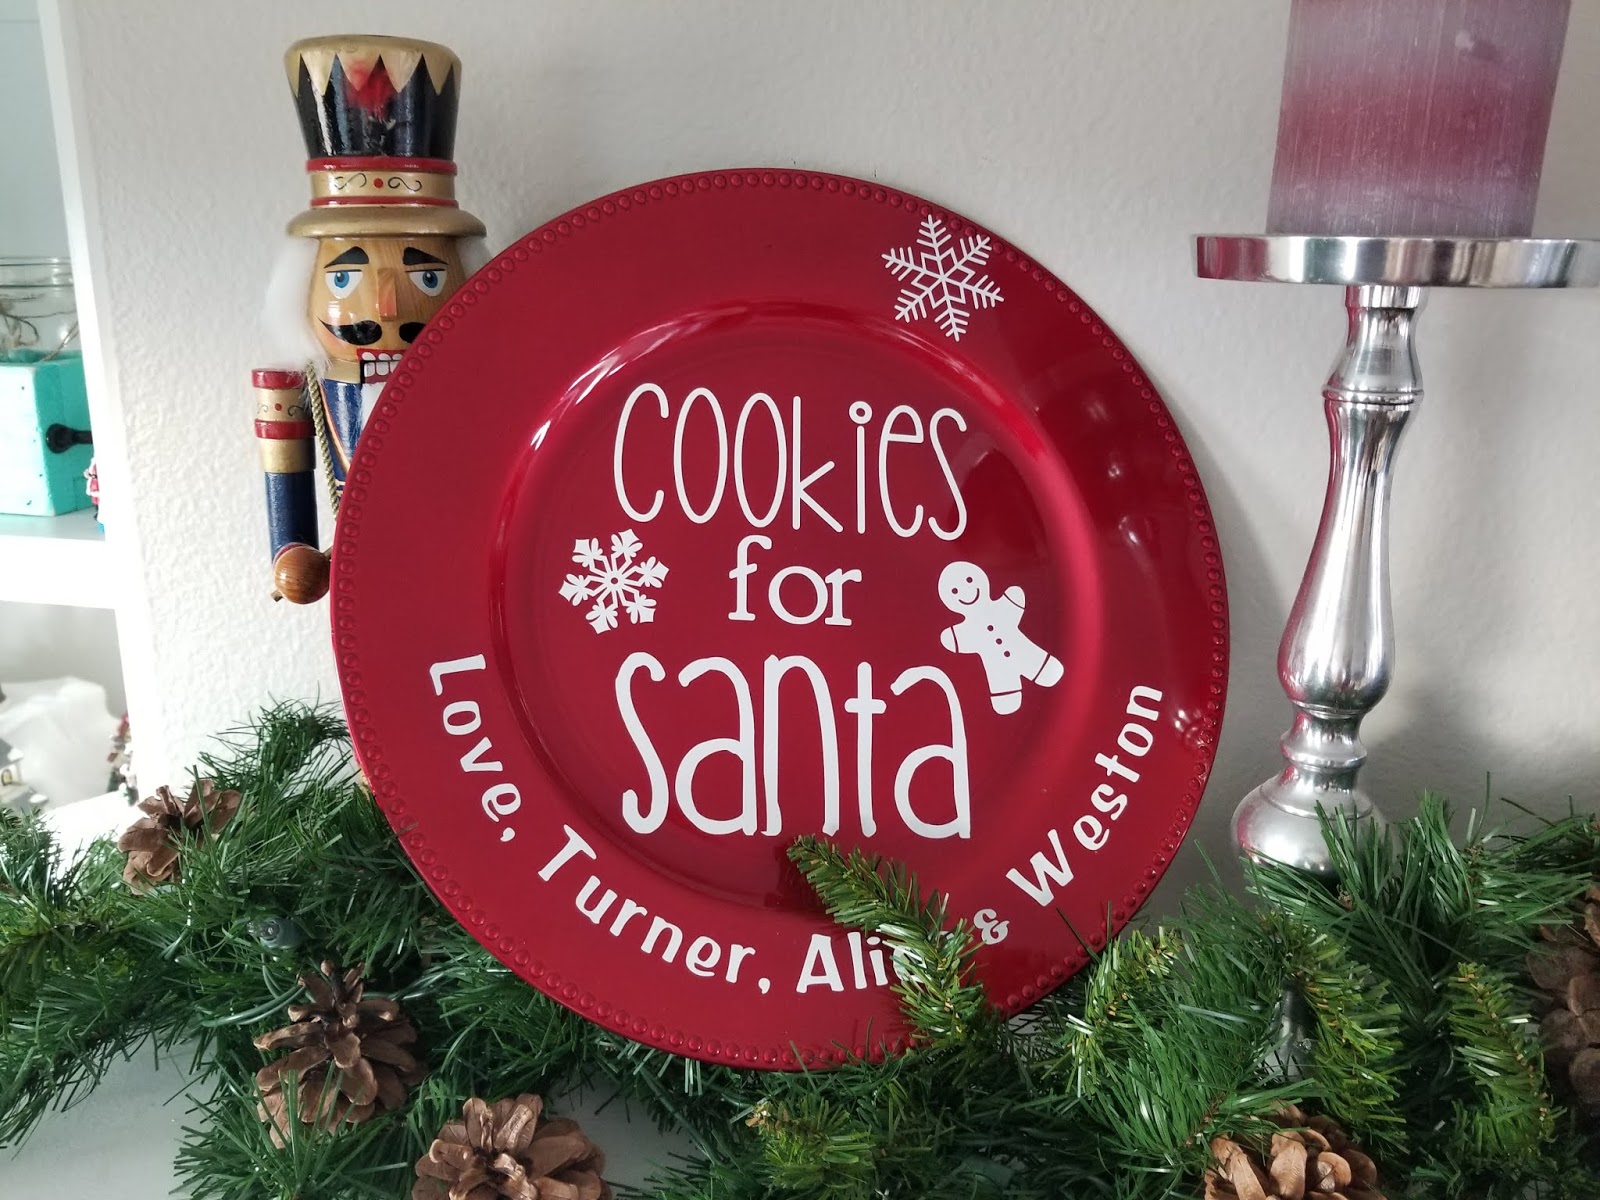
Cookies for Santa Plate Kids Personalized Ceramic Plate
Instructions to Make a Safe Cookies for Santa Plate. Buy a glass plate (I got mine from the Dollar Tree). Clean the underside of the plate with alcohol. Create the size of the cut files you need to fit your plate. You can create your own text in Cricut Design Space or Silhouette Studio and curve it to add a "Cookies for Santa from Child's.

Just in time for Santa! You can make this adorable cookie plate with
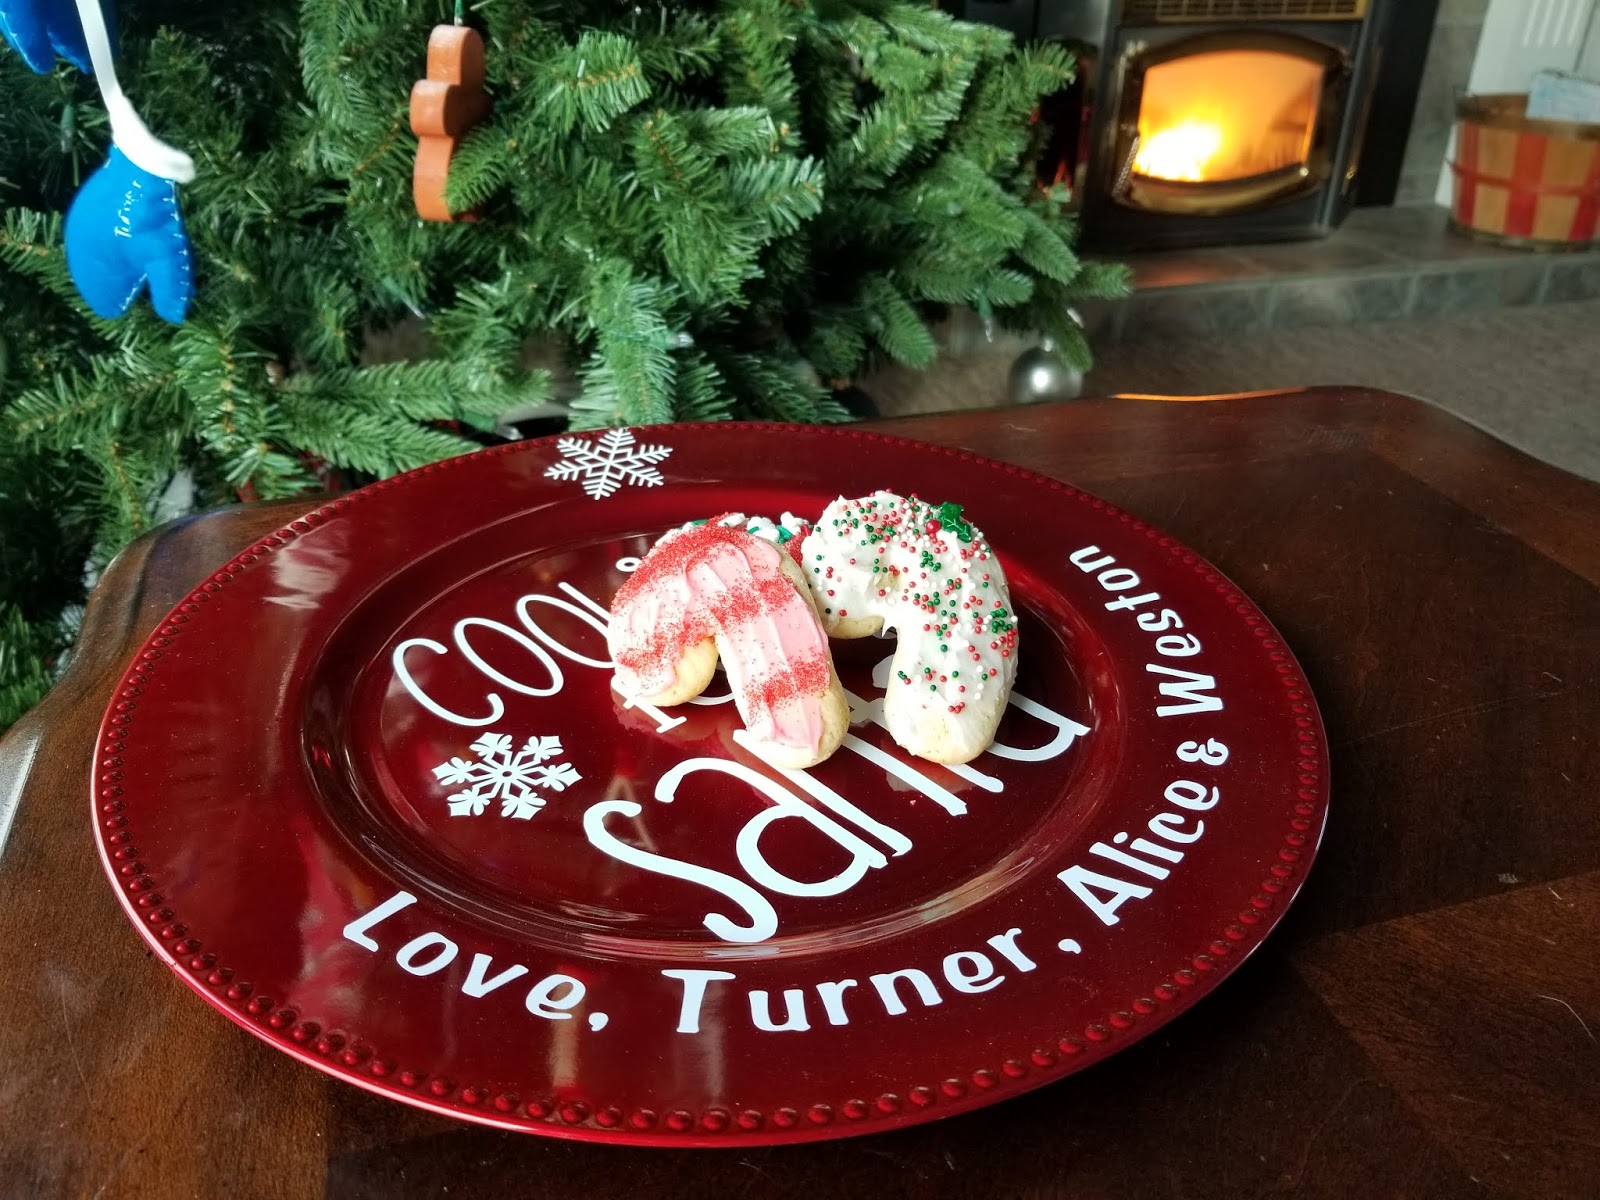
Clean off the plate with rubbing alcohol. Cut the file out with permanent vinyl in whatever color you like. Weed off the extra vinyl. Use transfer tape to apply it to the plate. I look at my computer screen while I do this so I know where things go. I apply the top and bottom words to make sure I have enough room.
How to Cut Glitter Cardstock with a Cricut Have a Crafty Day
Cut the design as usual. Weed the cut vinyl. Cut apart the design if needed. Apply transfer tape to the weeded design. Clean the plate with rubbing alcohol. This removes any oils from your fingers. Use transfer tape to apply a set of leaves. Then apply one set of "cookies for Santa". I did the top set first, making sure it was centered.
DIY Santa Cookie Plate Sew Simple Home
STEP 3: APPLY VINYL TO THE PLATE. With the plate right side up, use a dry erase marker and place a small circle in the center. Then, flip the plate over and wipe it down with rubbing alcohol. Once the plate has dried, place the vinyl on the bottom of the plate.
DIY Personalized Cookies for Santa Plate Leap of Faith Crafting
Start by grouping each batch of cookies together to add some visual organization and keep the plate looking neat. Then, place each group in order around the plate, ending with your favorite, most beautiful cookies in the center. Fill in the gaps with other treats.
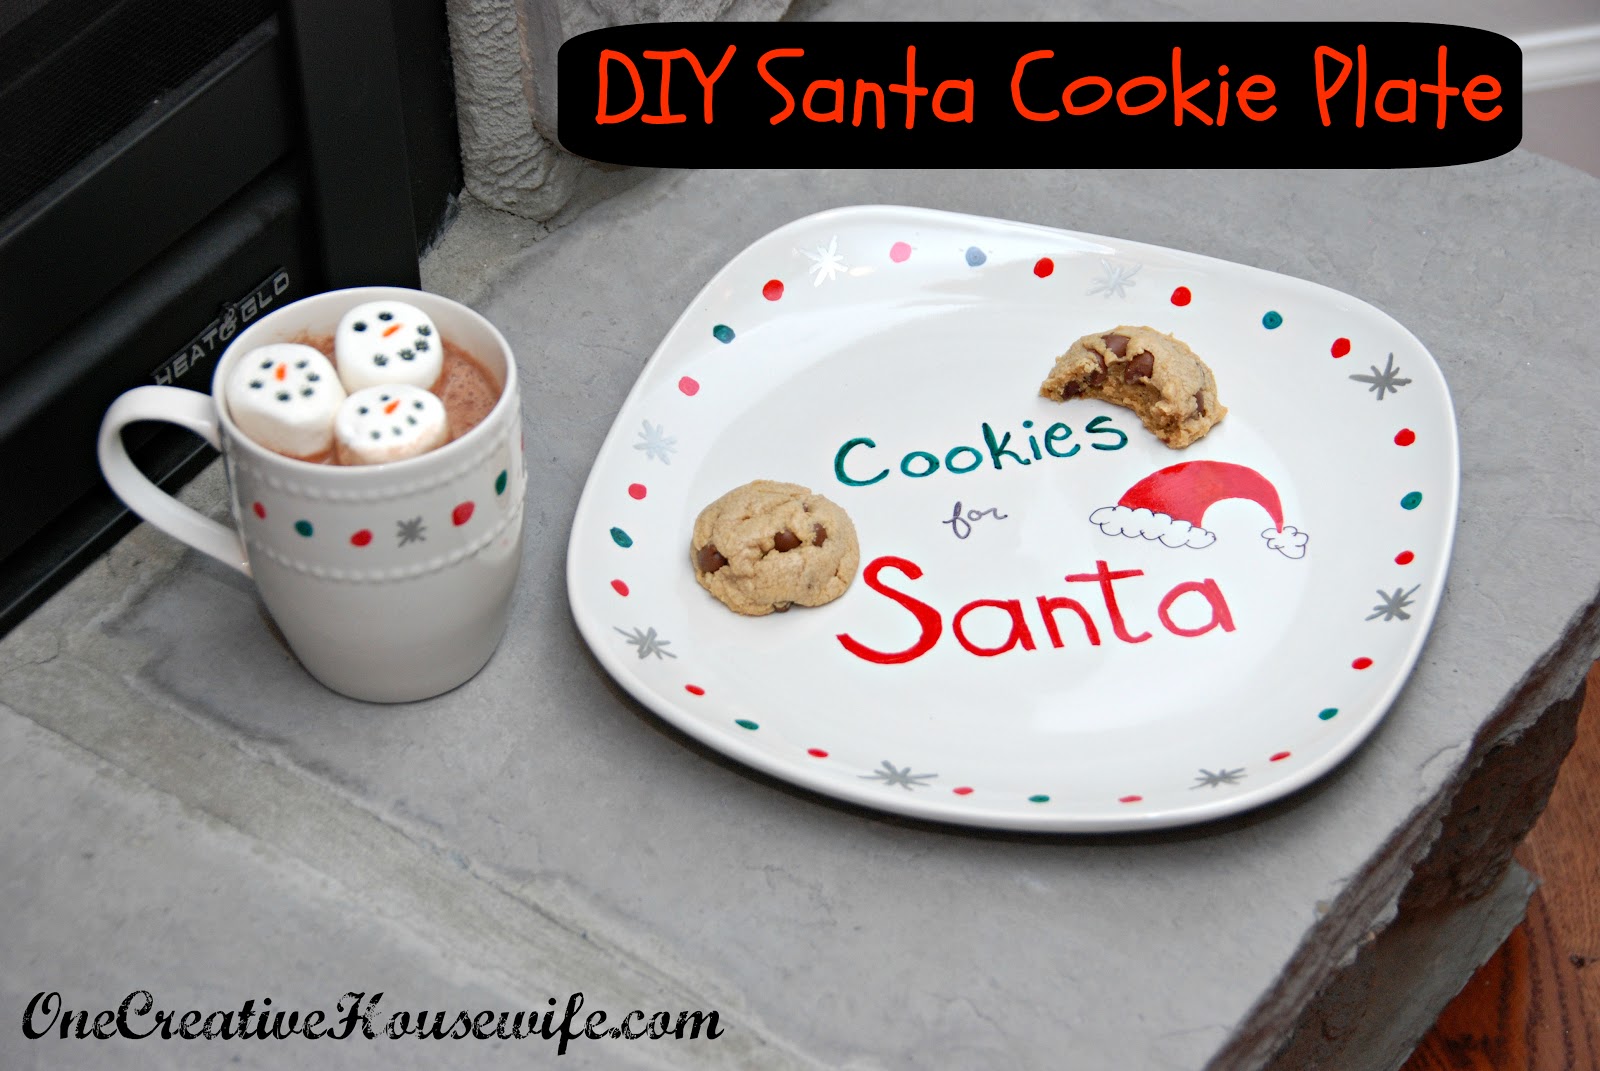
One Creative Housewife DIY Santa Cookie Plate
Preheat oven to 350 degrees. Line a baking sheet with parchment paper or a silicone baking mat, set aside. In the bowl of a stand mixer or a large mixing bowl with a hand mixer, cream the butter on medium speed for 1 minute. Add the sugars, mix on medium speed for 2 minutes. Add the egg and vanilla, mix until combined.
