30 Easy Pumpkin Carving Ideas for Halloween 2017 Cool Pumpkin Carving

27 Unbelievably Clever Pumpkin Carving Ideas For Halloween
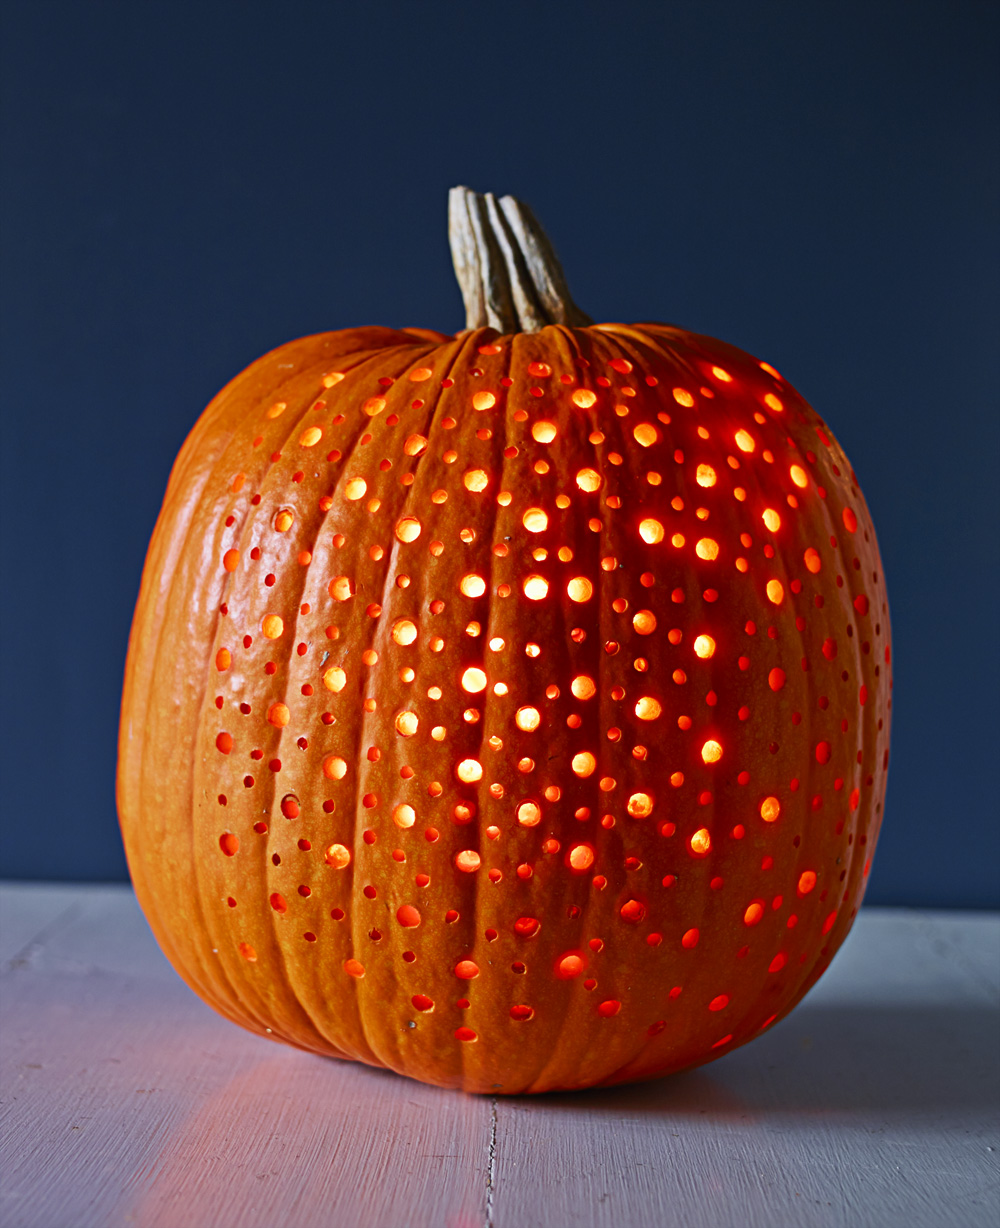
Drill Holes Using Large Bit. Use a large drill bit to drill holes into the pumpkin just under the top piece of painter's tape. Drill another row of large holes all the way around the pumpkin, just above the bottom piece of painter's tape. Remove both pieces of tape and drill a third row of large holes directly above the top row of holes.
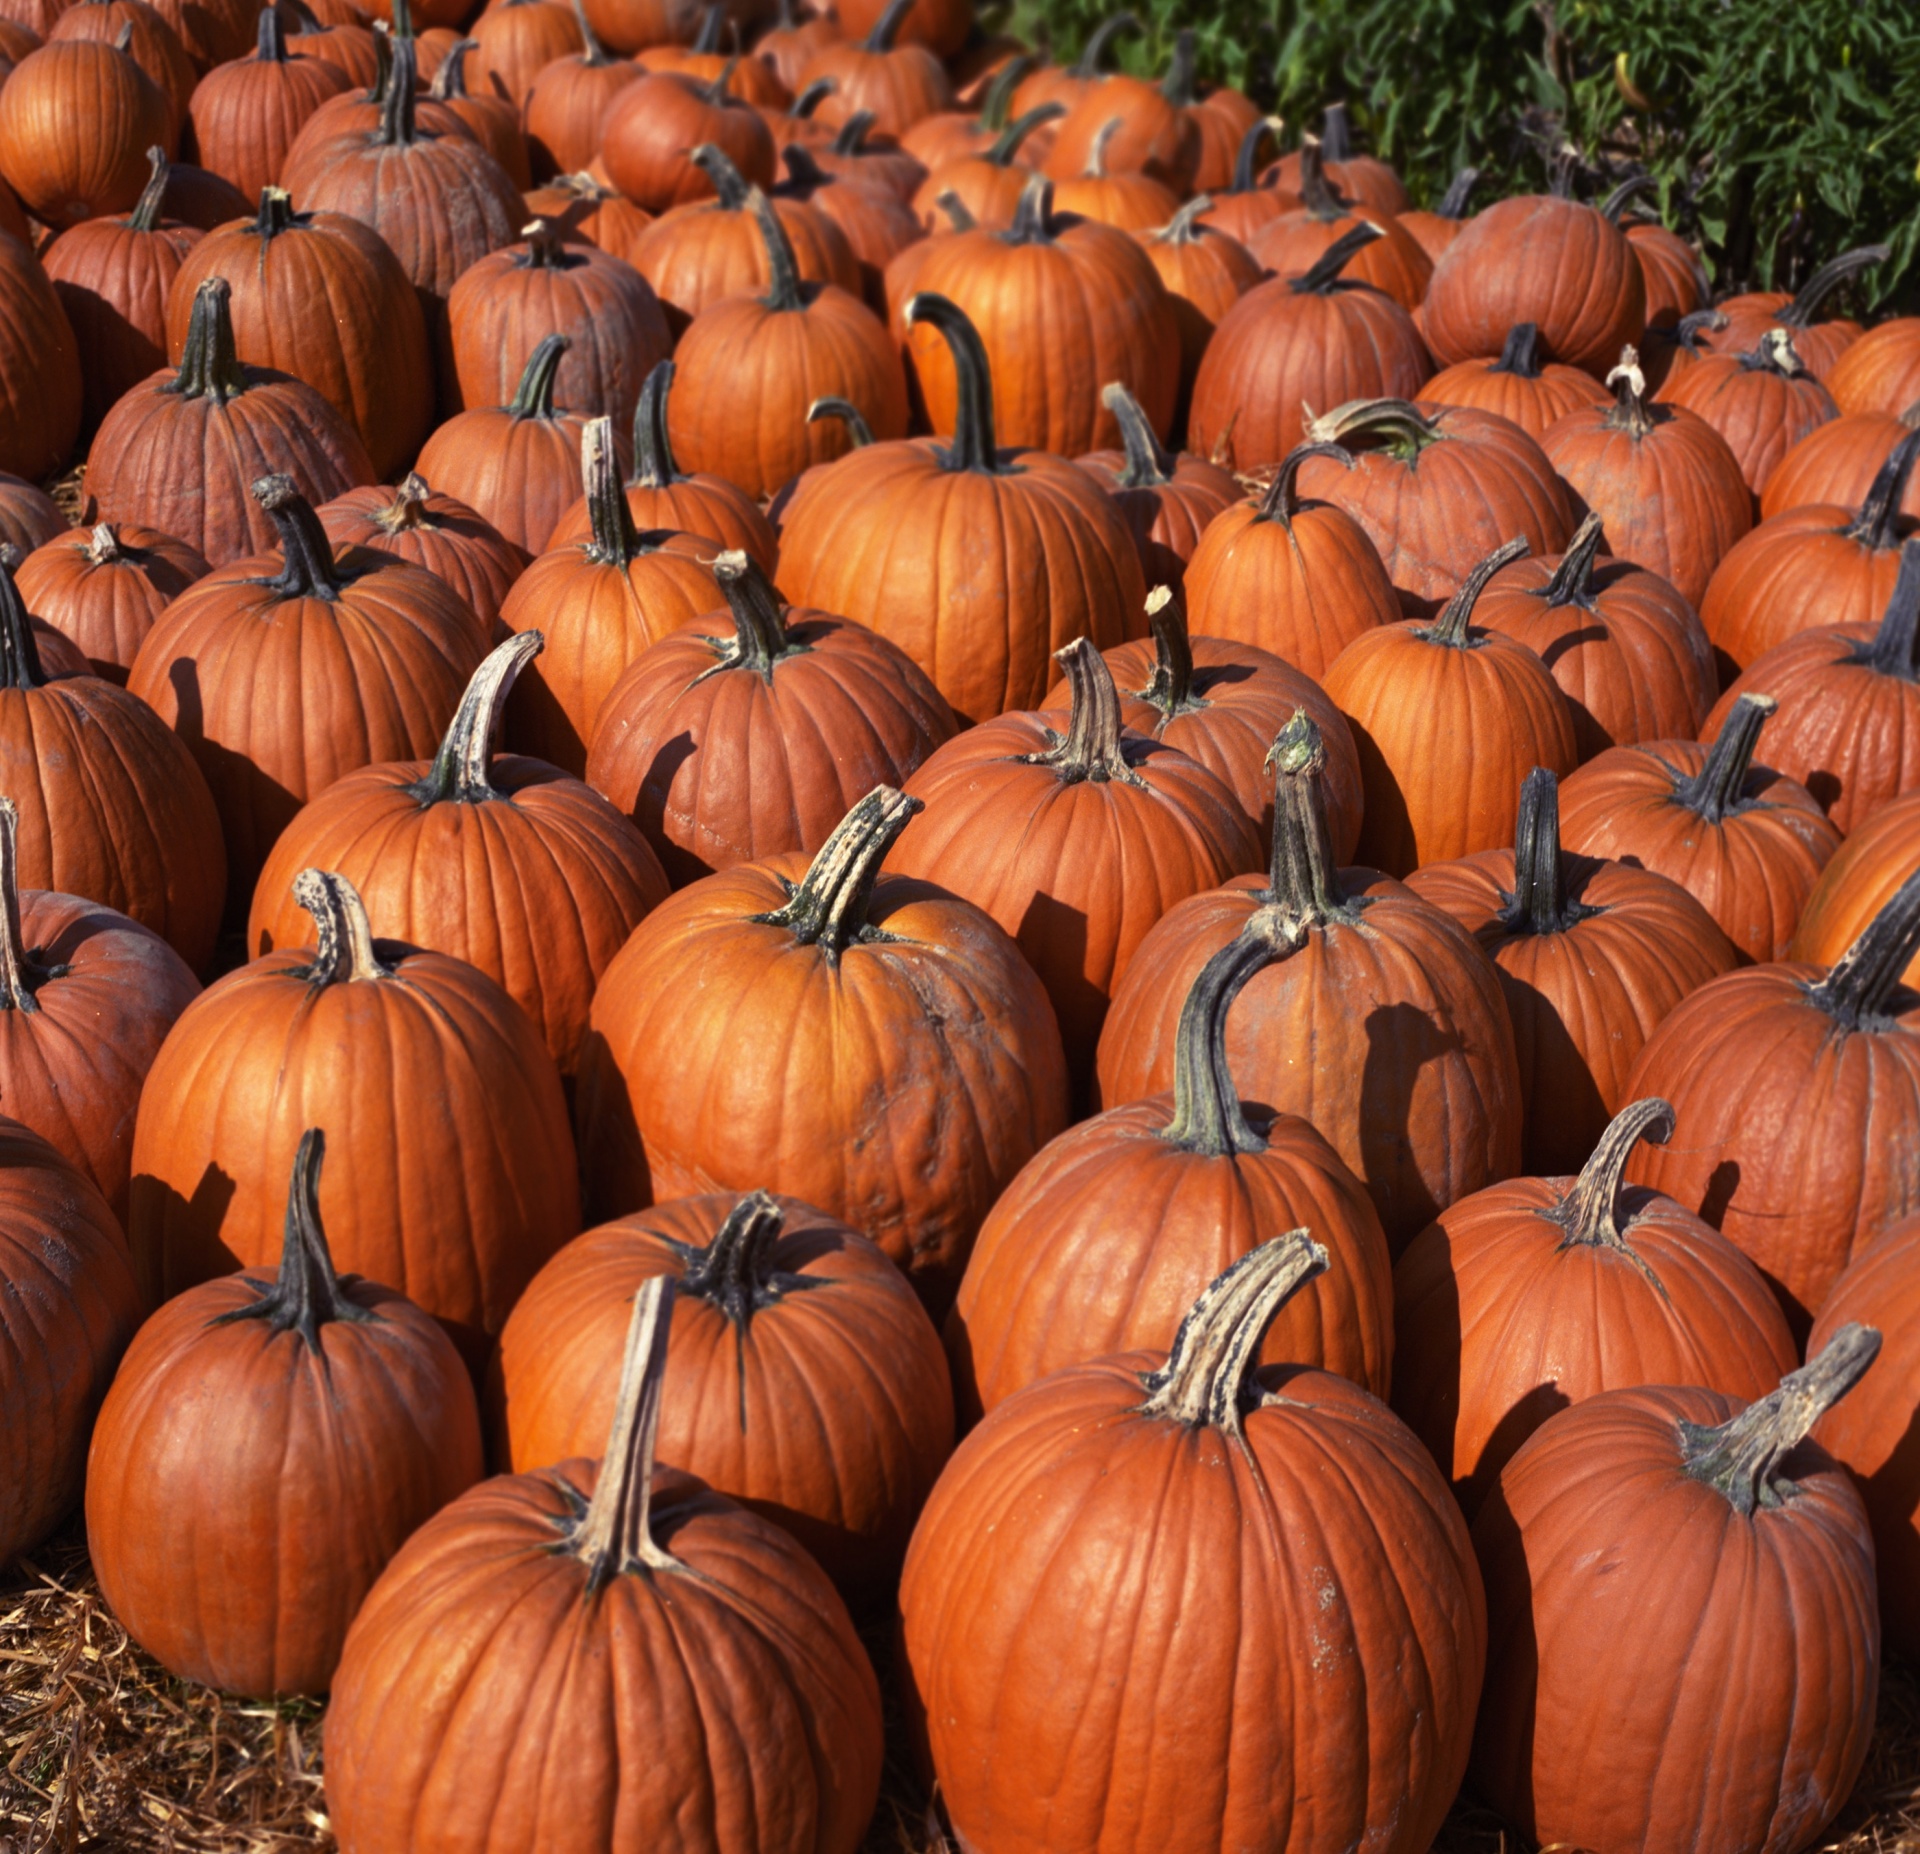
Pumpkins Free Stock Photo Public Domain Pictures
Step 1 Start as you normally would when carving a pumpkin - cut a hole in the top and empty the innards out of the pumpkin.. Step 2 To make the B, use a 1/2″ spade bit to drill two holes directly on top of each other so that you have what looks like an 8 shape. Then use your pumpkin carving knife to square off the left side of the 8 so that it looks more like a B.

pumpkin drilling Drill a pumpkin into a pattern! Stuff I like
Welcome to Fall and the first installment of our Pumpkin Decorating Extravaganza! In this video we show you how to use a power drill to decorate you pumpkins.
30 Easy Pumpkin Carving Ideas for Halloween 2017 Cool Pumpkin Carving
Go for a similar look, or try a zig-zag herringbone pattern, or a striped design with alternating drill bit sizes. A pumpkin with a timeless design pattern is a fun way to create festive Halloween table decor that still feels chic, especially if you add a light inside for ambience. 7. Try a sculped pumpkin

Pin on .Ashley Weber Designs.
DecoArt Chalky Paint in Everlasting. DecoArt Ultra-Matt Varnish. Use graphite paper to trace the outline of your shape onto the pumpkin. Use a little tape to hold it in place. This is what your design will look like after tracing it onto your pumpkin. Grab a few drill sizes and plan which you'll use where.

How to Make Drill Carved Halloween Pumpkins DIY & Crafts Handimania
Step 1: Cut a hole in the bottom of the pumpkin. (If using a faux pumpkin, cut off the faux pumpkin stem and hot glue on a real pumpkin stem.) Step 2: Print out a pattern template (the one we used.
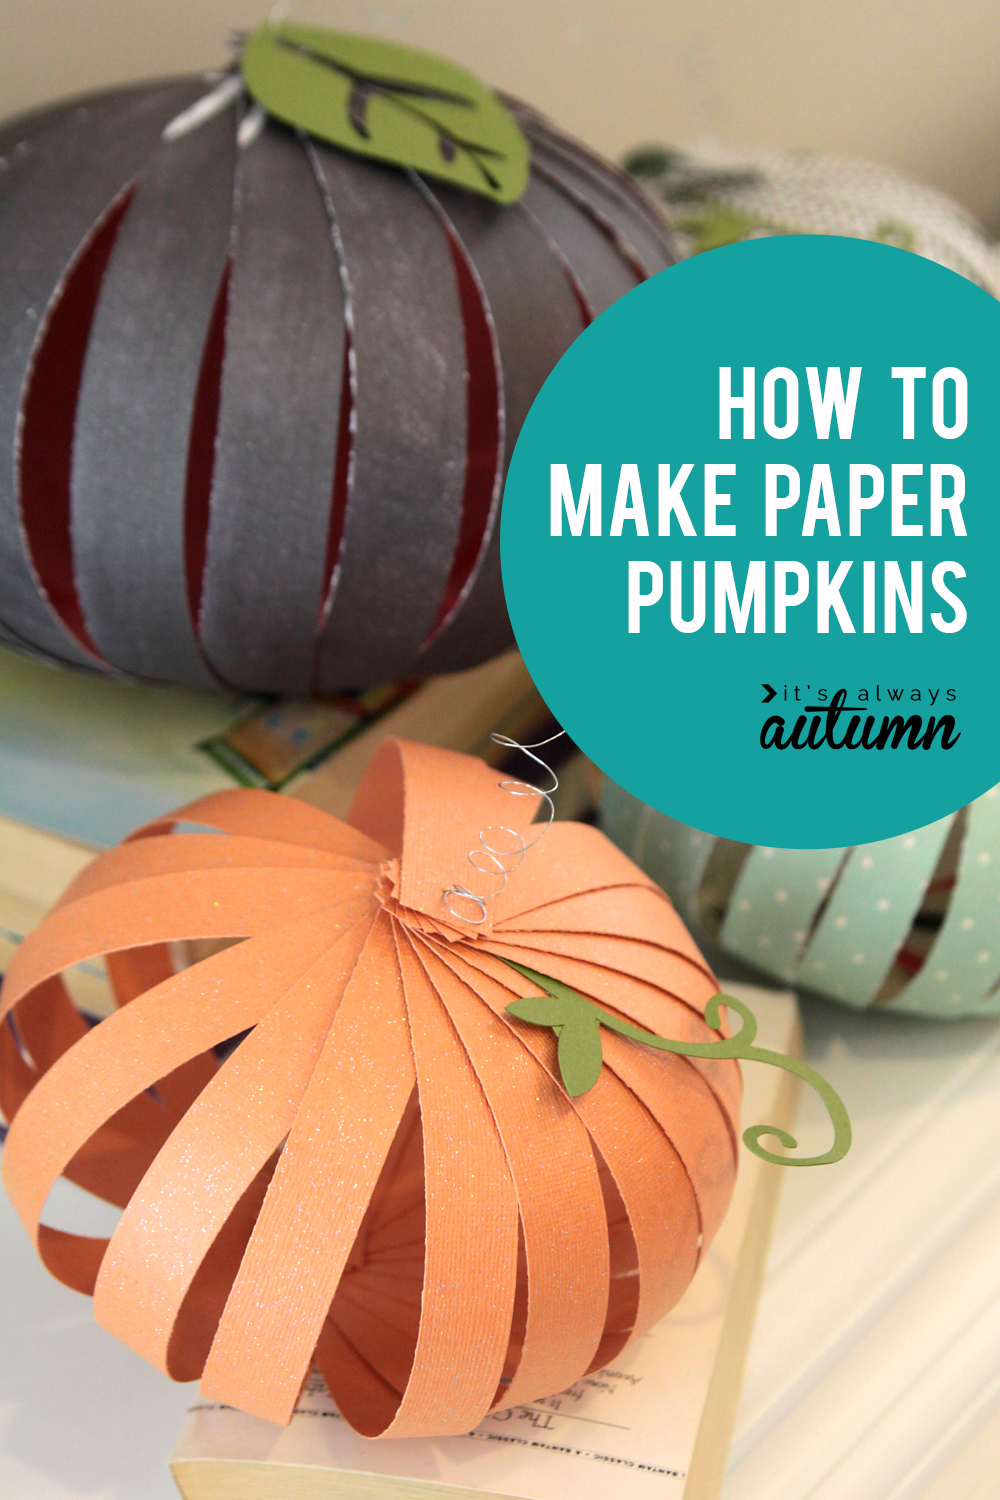
How to make paper pumpkins {fun + easy Halloween kids' craft} It's
Pumpkin Carving with a Drill. Step One: Create a pattern and use painters tape to help you mark it onto your pumpkin. We used dry erase marker to make the initial marks, then punched with a skewer to make it easier to get the drill going in the right place. Step Two: Using various sized bits, we drilled straight into the pumpkin at the pre.
How To Drilling Pumpkins 17 Apart
Option 2: Find and place a guide on the front of the pumpkin. First of all, find a design or picture online. Choose something that represents you. Something you want to look at over and over again each season. Next, just download and print as a guide to carve uniquely scary pumpkins. Or non scary.

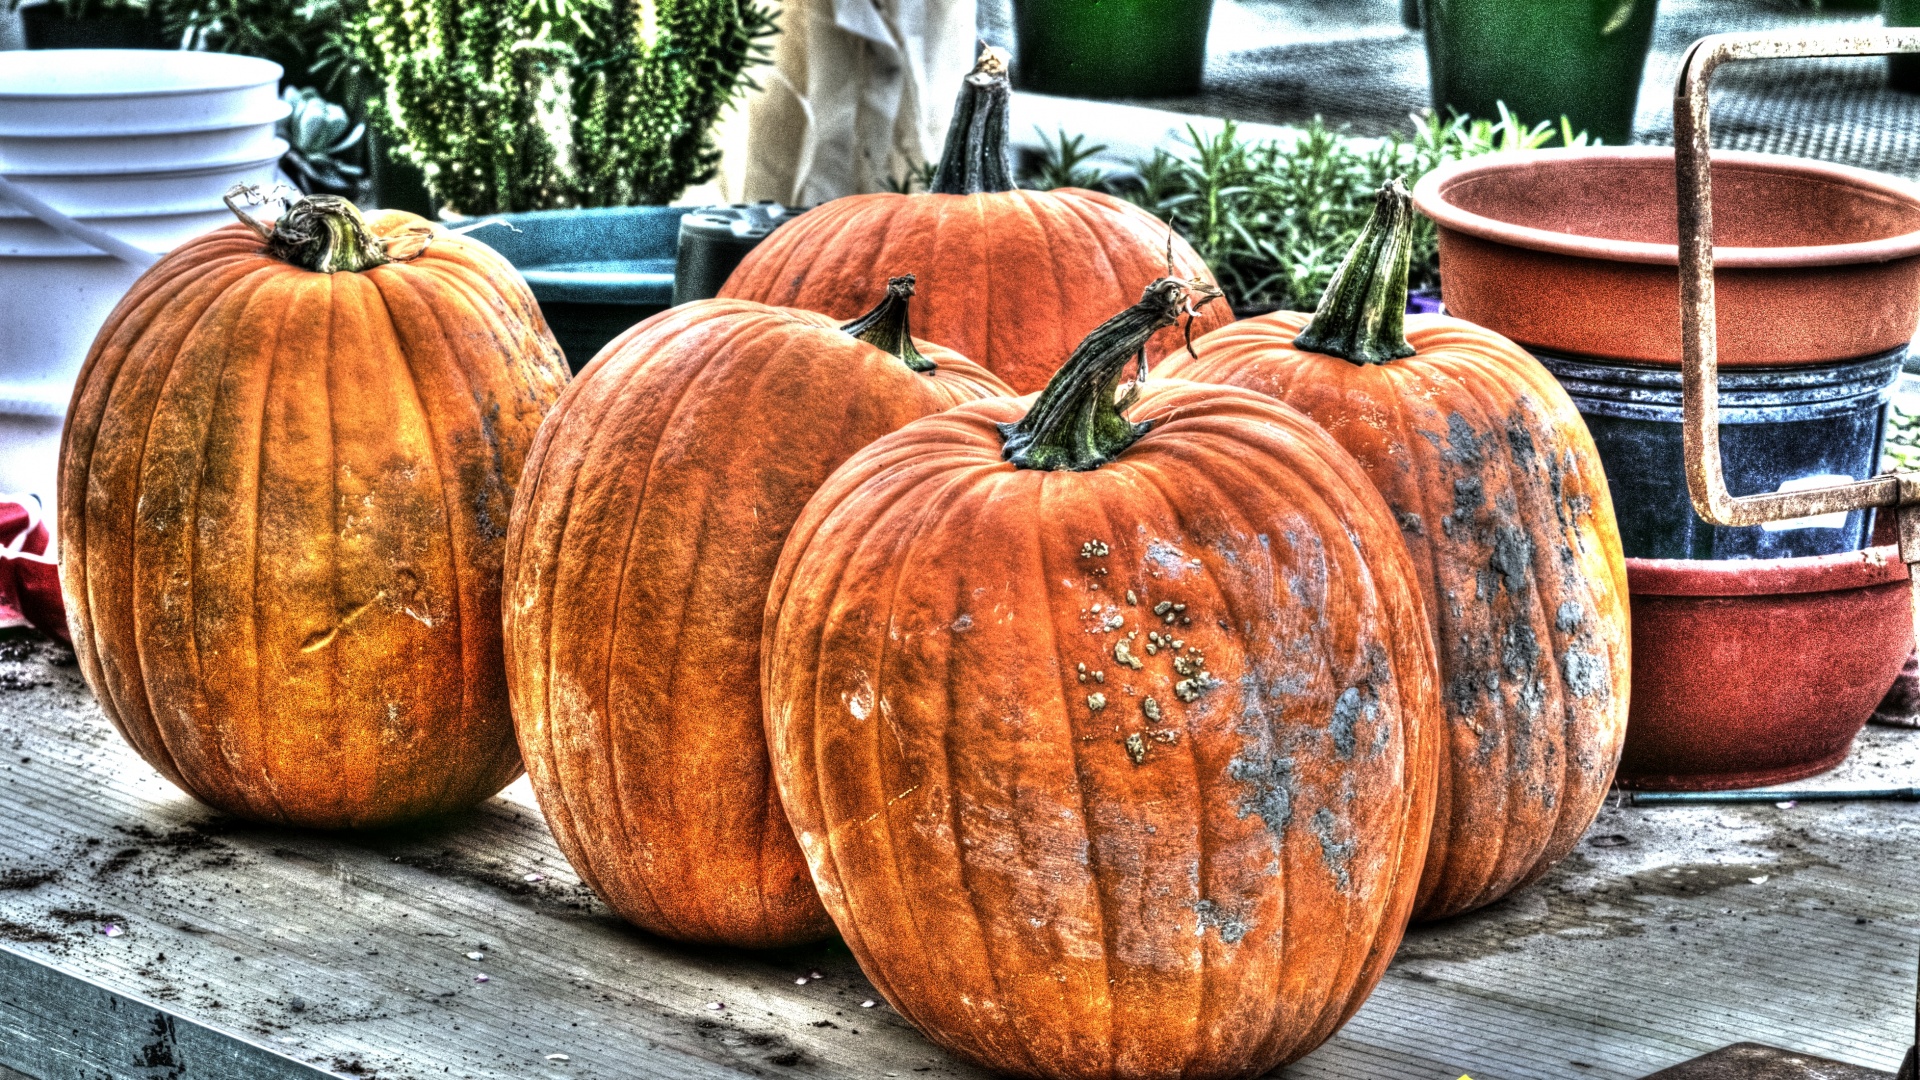
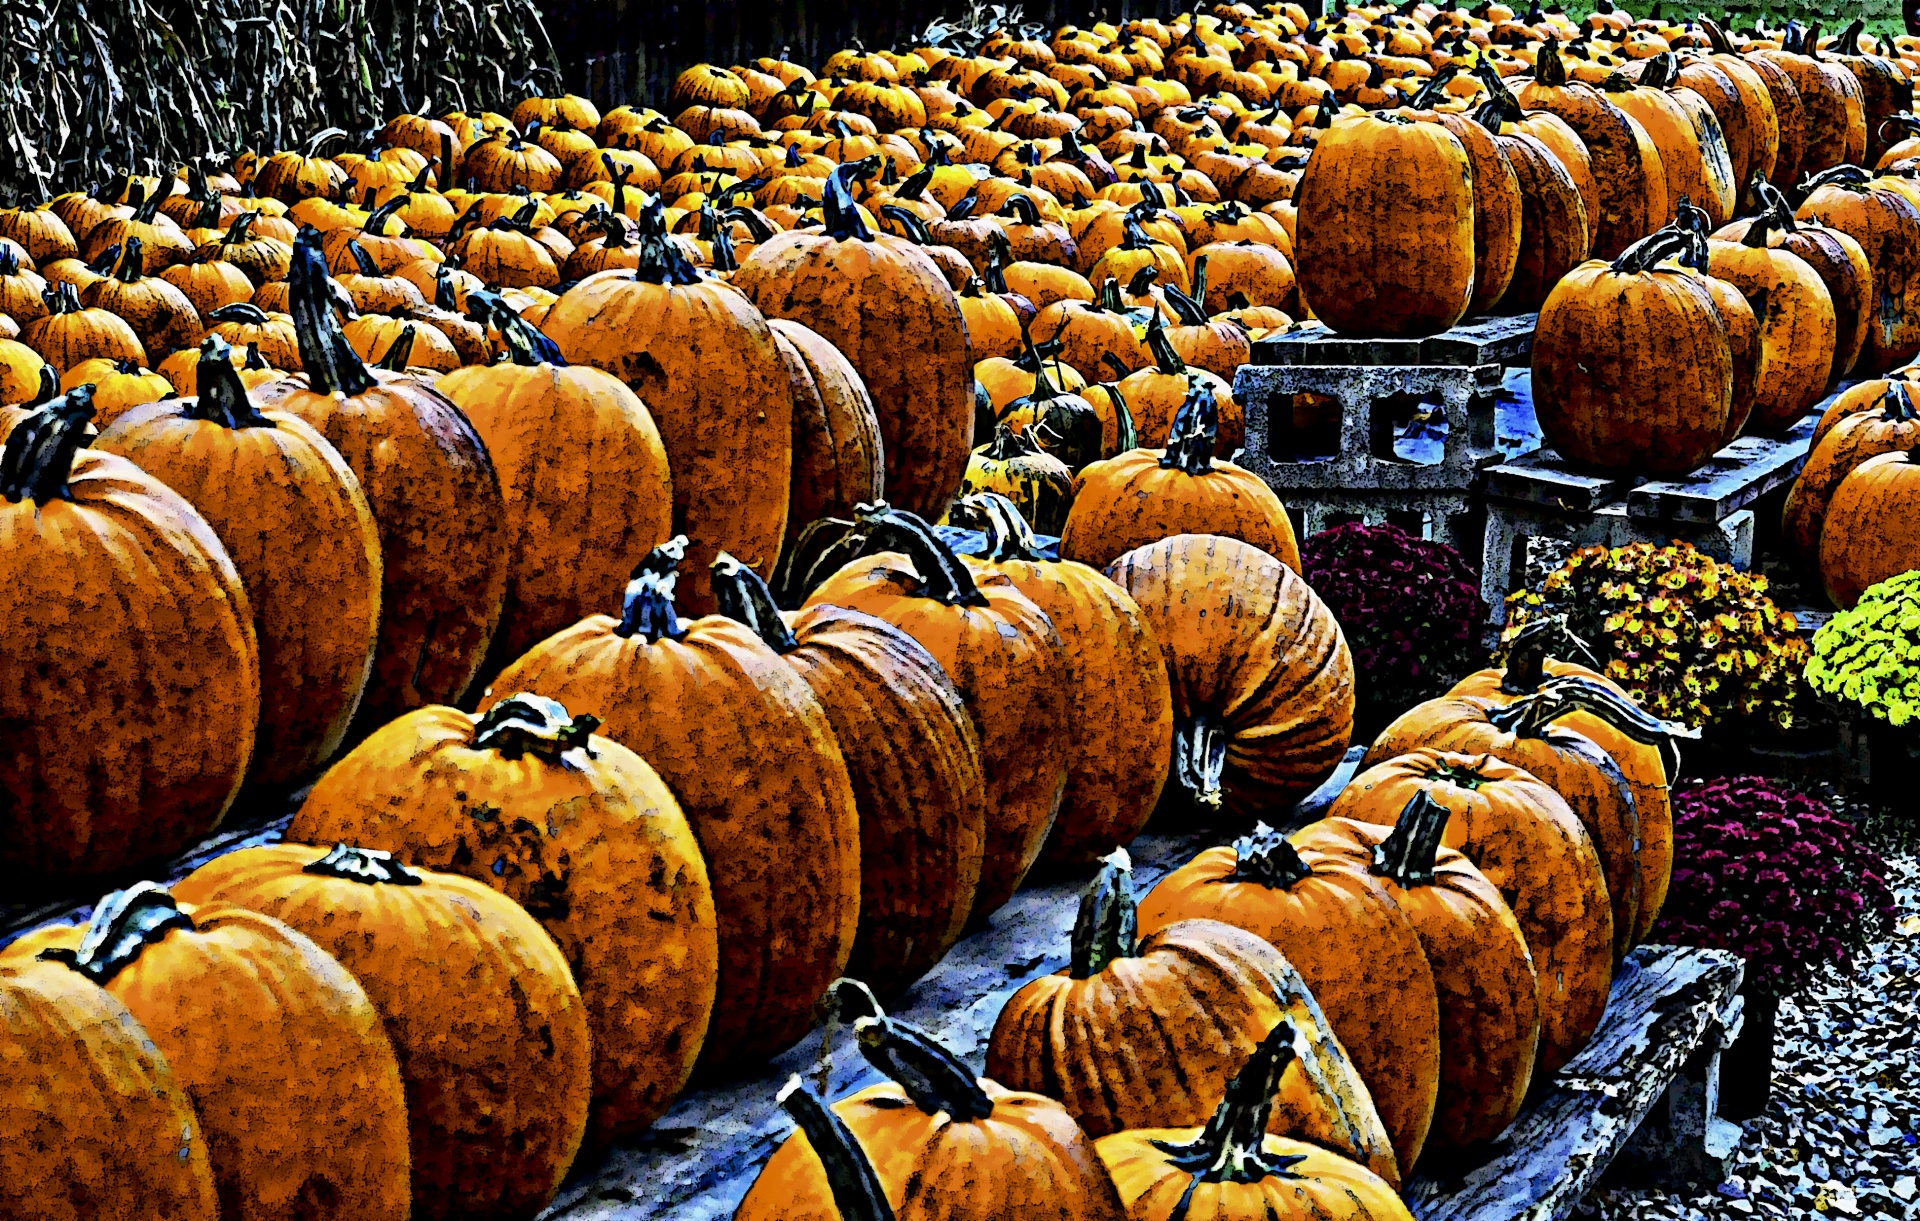
Pumpkins Display Free Stock Photo Public Domain Pictures
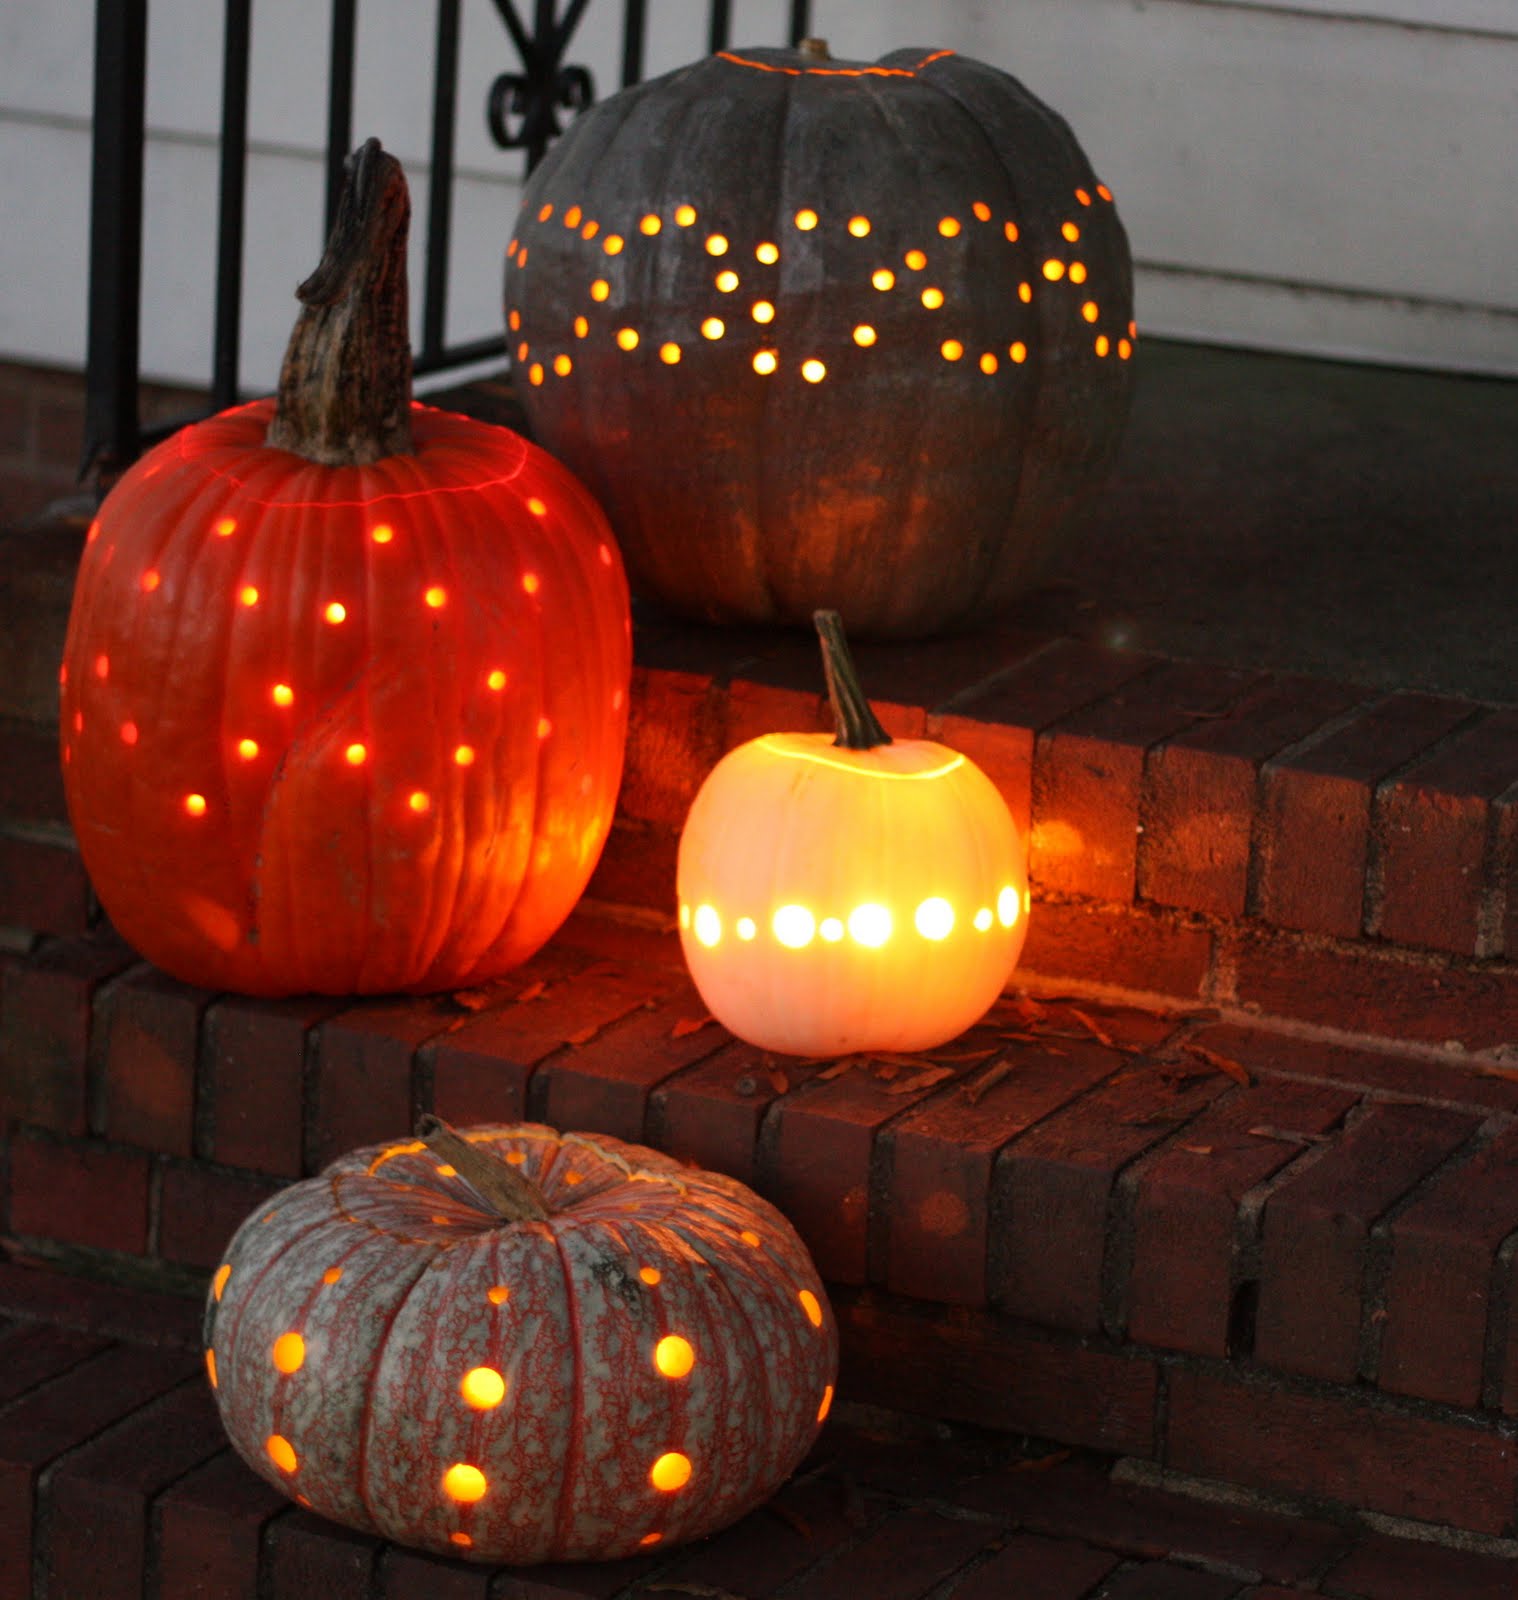
Predictably, the Better Homes and Gardens jack-o-lantern round-up had some great pumpkin designs creatively carved by power tools. No shortage of inspiring ideas in that slide show. HGTV has their own step-by-step power drill tutorial and this photo reflects the look I opted for - blending carved and uncarved pumpkins together in the same.

40 Pumpkin Carving Ideas Jacko’Lanterns for Halloween 2020
The trick is to hold your pumpkin steady, line your drill bit up with the stencil then squeeze the trigger before it ever touches the hole. Once the bit has gone through the stencil and the pumpkin, don't release the trigger. Slowly pull the bit completely out then stop drilling and go on to the next. You'll have the cleanest-looking design.
Pumpkin Carving Hacks
Learn how to decorate pumpkins with a power drill! Get more from Julia at:http://www.youtube.com/user/simpleDIYsCheck out all of Julia's HGTV videos here:htt.

Power Drill Pumpkin Carving HGTV YouTube
Pumpkin. Drill and drill bits. Knife and pumpkin gut scooping supplies. Pencil and paper (optional) Tiny human helpers (also optional, but recommended) First, cut out your pumpkin lid and scoop out the guts. Standard pumpkin procedure. Basically the whole point of us doing pumpkins this year was to watch (and photograph) my kids faces as they.
Pumpkins Free Stock Photo Public Domain Pictures
We like to place between 2-3 tea-lights in the bottom of each pumpkin. Top the pumpkins with your topper stems and admire your work! For design inspiration, I searched for drilled pumpkins on Pinterest and decided to go with 4 simple designs: a patterned circle, varied lines vertically and horizontally, and an argyle or diamond shaped design.
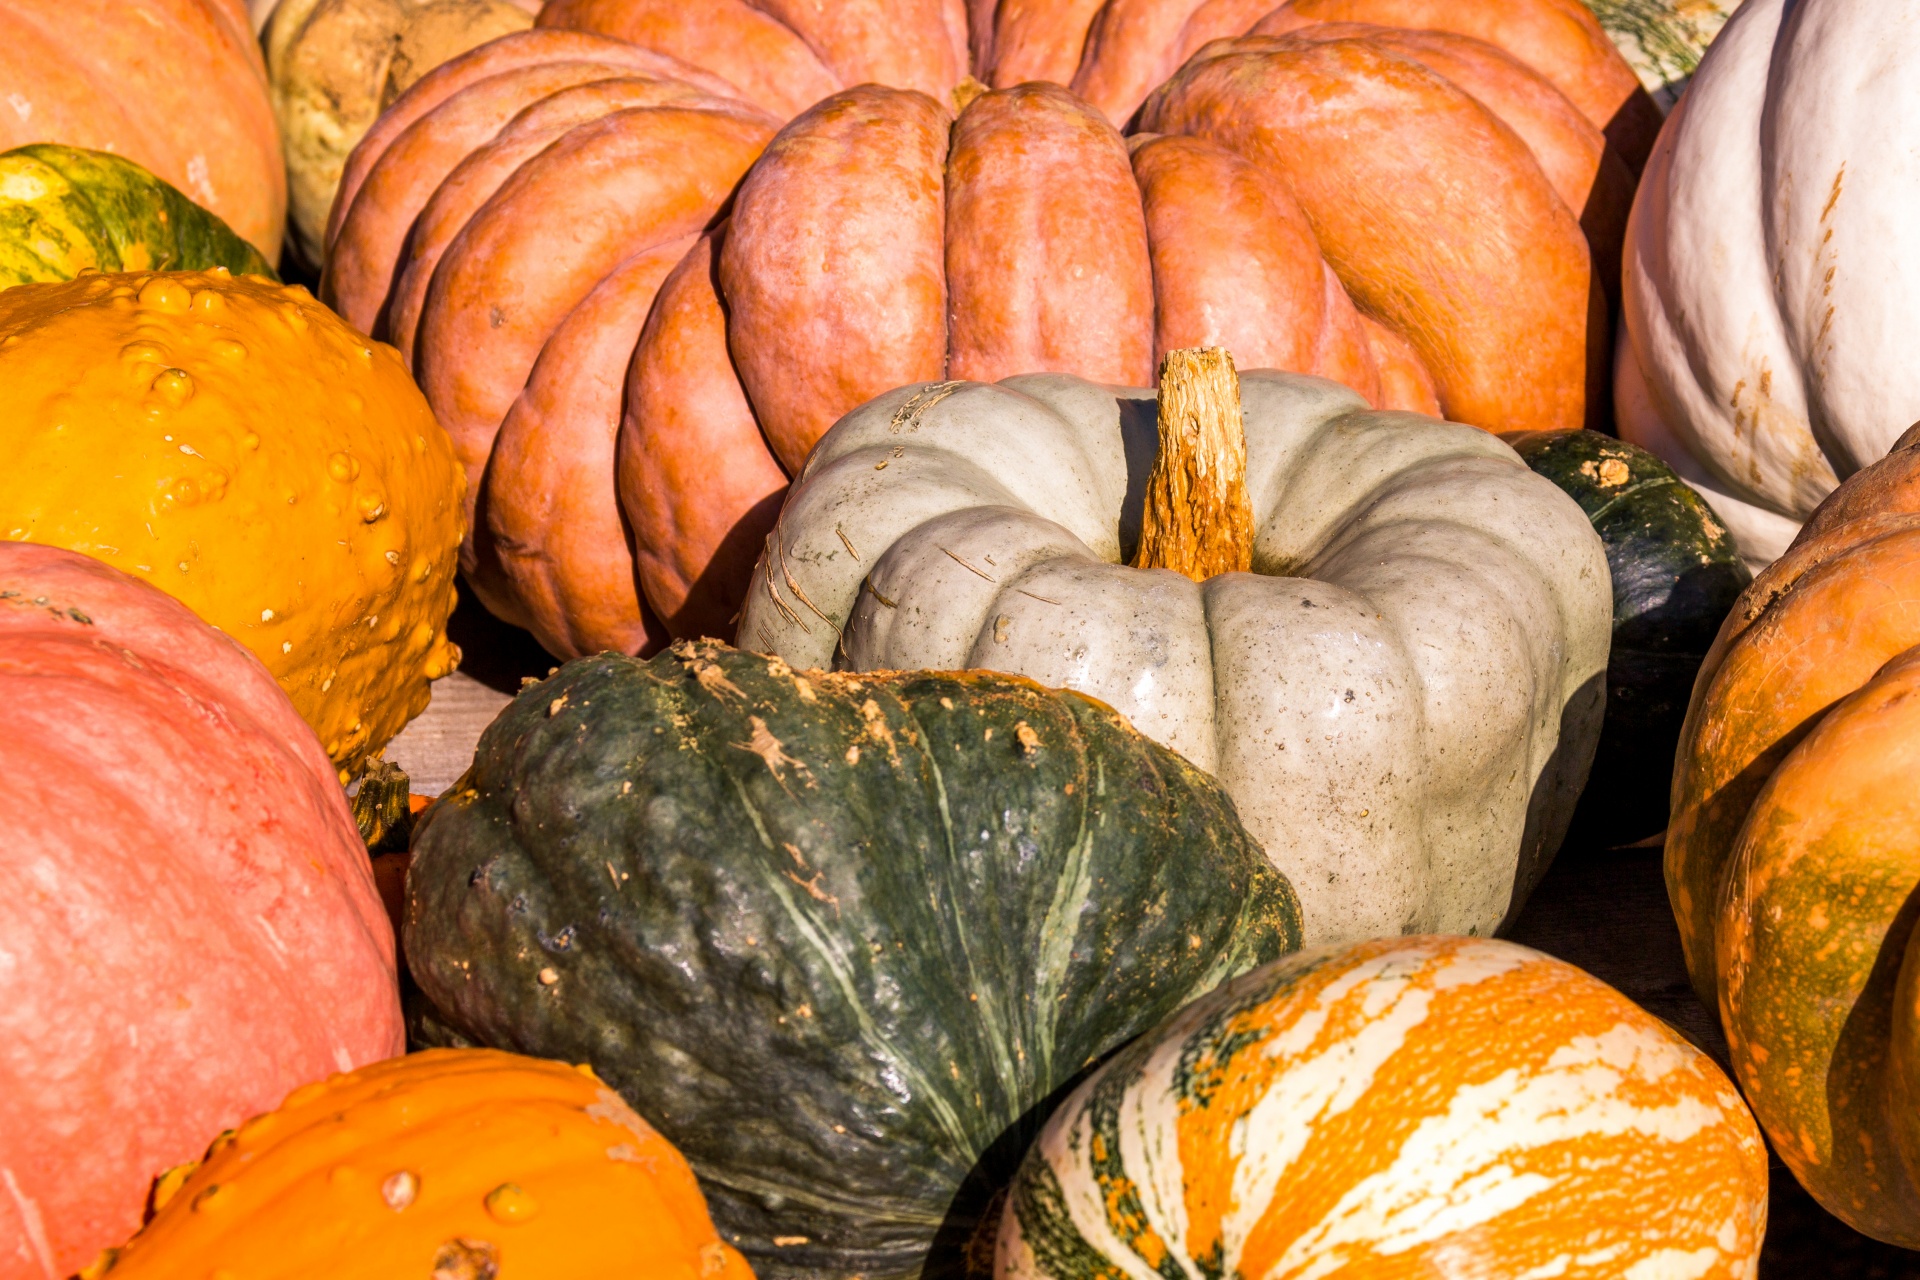
Various Pumpkins Free Stock Photo Public Domain Pictures
This has to be the easiest way I've seen to create a fabulous pumpkin for Halloween. To start off with, it's the usual routine of cutting open the pumpkin. This is my husband's hand, by the way. He was convinced that a small knife was the best way to go (it wasn't for the record… but he says that's just my opinion…).
Pumpkins Free Stock Photo Public Domain Pictures
Drilled Pumpkin Design. Tracy Wackerman was so wonderful and wanted to shared with us how she made drill bit pumpkins! This is a fun and unique way to decorate your pumpkins for Halloween! I'm going to have to borrow my husband's drill now to make a zig-zag pattern or a monogram letter! Tracy said "I used a ⅝" drill bit to make the flower.

Brush Strokes Pumpkins for Sale
Power Drill with 1/4″ bit. Battery Operated Candle. Give your pumpkin a coat of spray paint. Then using a power drill create holes in your desired pattern, Using a tool with sharp edge, cut the top off so you can lift it off. The holes will not be smooth on the inside, so I took a sheet of sandpaper and gently sanded the inside to get rid of.
